Before You Begin
Purpose
This tutorial shows you how to create a Data Loading Wizard for your application so that end users can add data into a table.
Time to Complete
Approximately 15 minutes
Background
Applications with data loading capability allow end users to dynamically import data into a table within any schema to which the user has access. To do this, end users run a Data Load Wizard that uploads data from a file or copies and pastes data entered by the end user directly into the wizard.
With Oracle Application Express 5.1, you can create a series of data load wizard pages in your application using the new Data Loading page wizard. The wizard allows you to add table lookups and transformation rules that are executed when the Data Load Wizard runs.
Context
In this tutorial, you create a DEPENDENTS table and EMP table, create an application with a report, use the Data Loading page wizard to create the Data Load wizard pages in your application that the end user uses to load the data. The Data Loading definition contains a table lookup for the relative name and a data transformation rule to make sure that Gender is stored in uppercase.
What Do You Need?
Before starting this tutorial, you should:
Download and unzip the files.zip file into a working directory to use during this tutorial.
-
All files for this hands-on activity are located in the
Home/Desktop/APEX_Track/filesfolder. -
The following files are used in this hands-on activity:
dependent_data1.txt
dependent_data2.txt
dependents.sql
emp.sql
Creating the DEPENDENTS table using a SQL Script
In this section, you upload a SQL Script and run it
to create the DEPENDENTS table.
To run the script, you should first log into your
Oracle Application Express workspace and perform the
following steps:
-
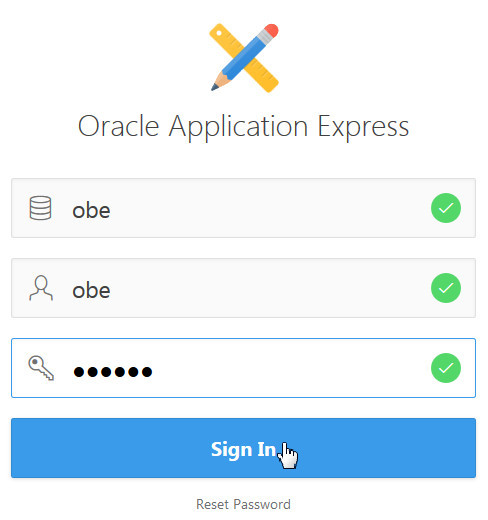
In the Application Express login page, enter the following login credentials and click Sign In:
Workspace: obe
Username: obe
Password: oracle
Description of this image -
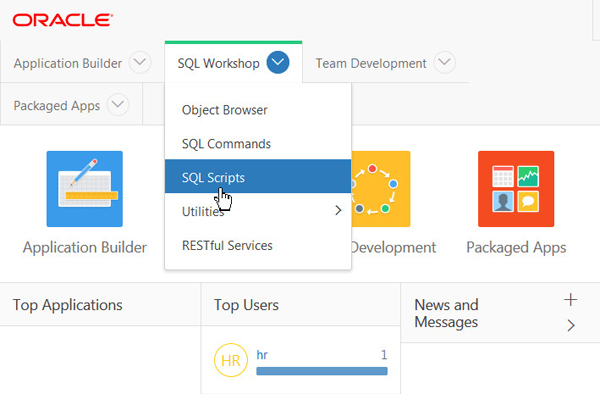
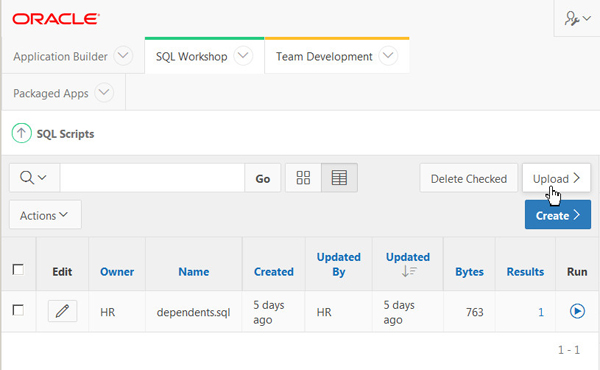
On the Oracle Application Express Home Page, select SQL Scripts from the SQL Workshop menu.
Description of this image -
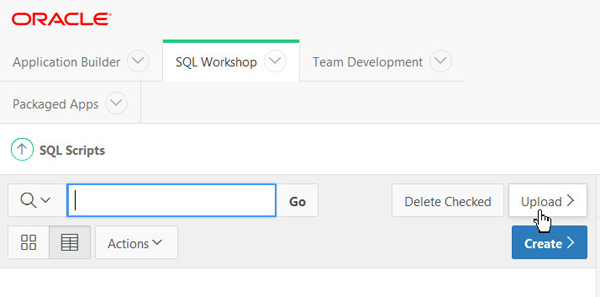
Click Upload.
Description of this image -
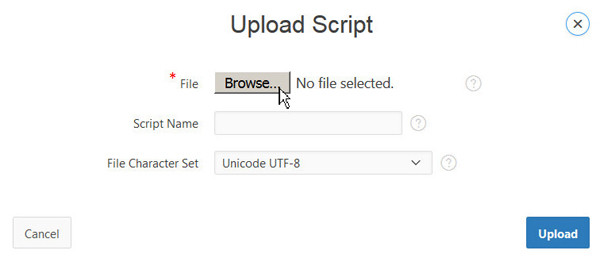
Click Browse.
Description of this image -
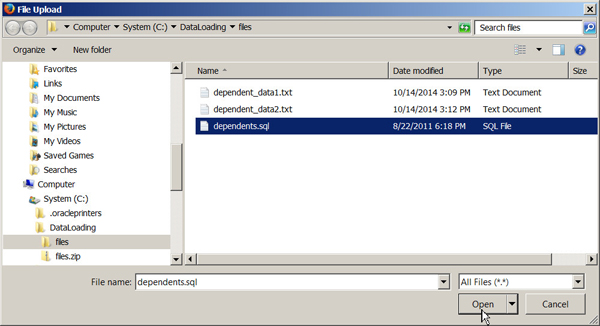
Select dependents.sql from your working directory and click Open.
Select dependents.sql from the files directory and click Open.
Description of this image -
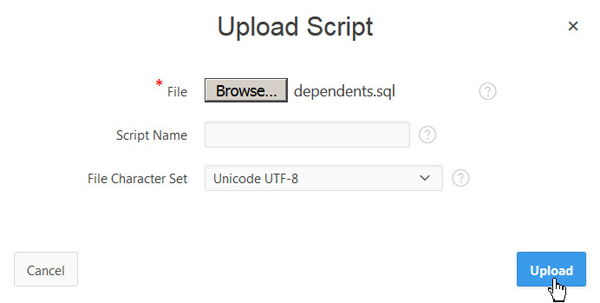
Click Upload.
Description of this image -
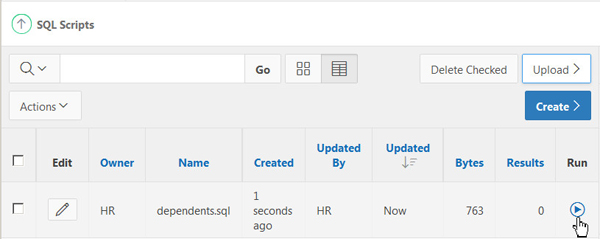
Your script was uploaded successfully. Click the Run icon.
Description of this image -
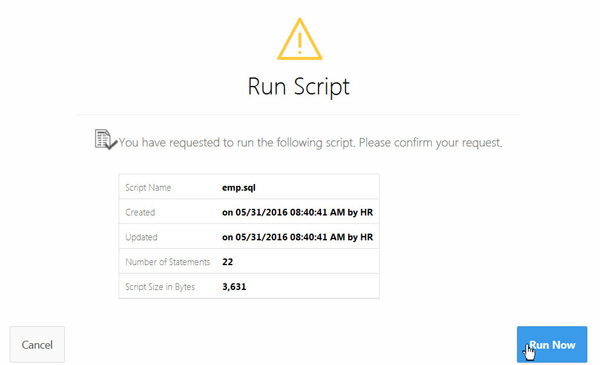
Click Run Now.

Description of this image -
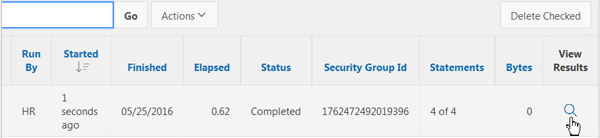
Click the View Results icon.
Description of this image -
The script ran successfully. In the next section, you create the
EMPtable using a SQL script.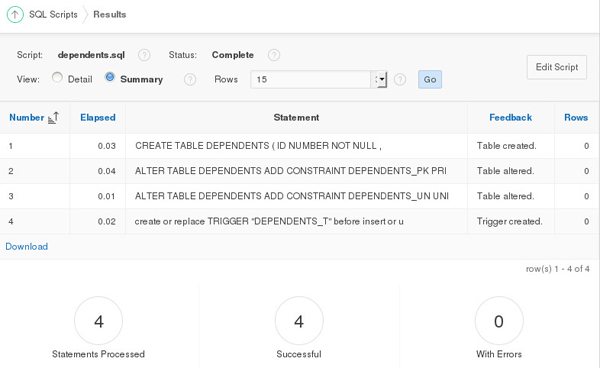
Description of this image
Creating the EMP table using a SQL Script
In this section, you upload a SQL Script and run it to create the EMP table. Perform the following steps:
-
From the SQL Workshop menu, select SQL Scripts.
Description of this image -
Click Upload.
Description of this image -
Click Browse.
Description of this image -
Select emp.sql and click Open.
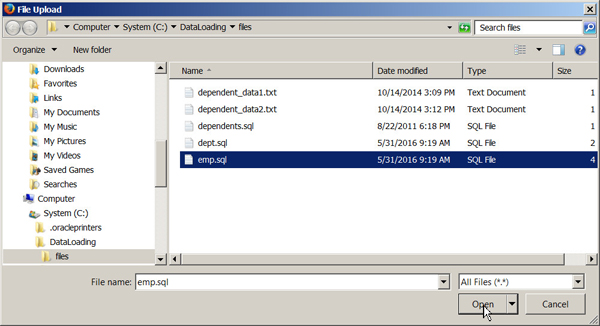
Description of this image -
Click Upload.

Description of this image -
Your script was uploaded successfully. Click the Run icon.
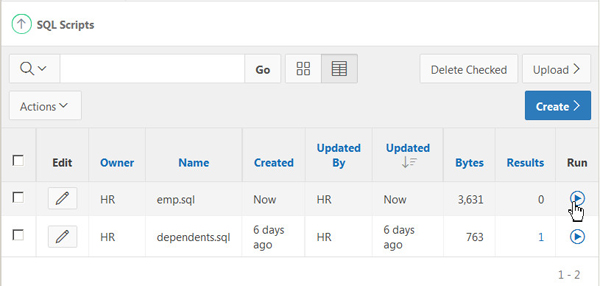
Description of this image -
Click Run Now.
Description of this image -
Click the View Results icon.
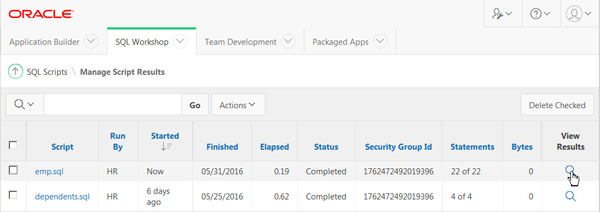
Description of this image -
The script ran successfully. The result shows two errors because the EMP table and EMP_SEQ sequence did not exist when the DROP statements were executed. In the next section, you create an instant application and a report region on the Home page.
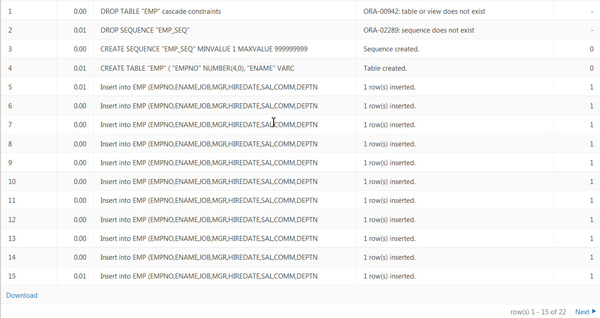
Description of this image
Creating an Application with a Report
In this section, you create an instant database application and create an interactive report that shows all the data in the DEPENDENTS table. Perform the following steps:
-
From the Application Builder menu, select Database Applications.
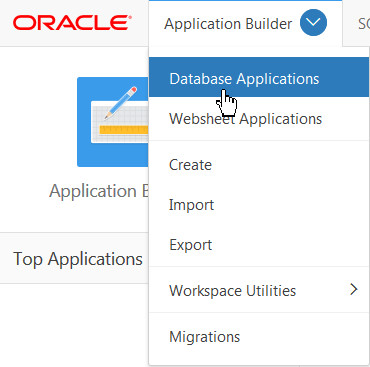
Description of this image -
Click Create.
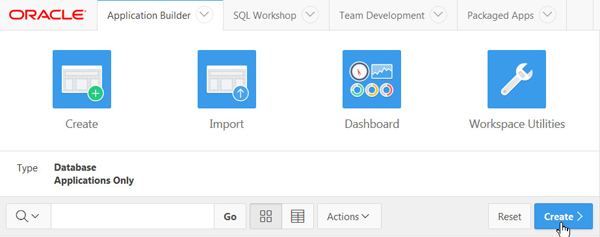
Description of this image -
Change the Name field to Data Loading and click Create Application.
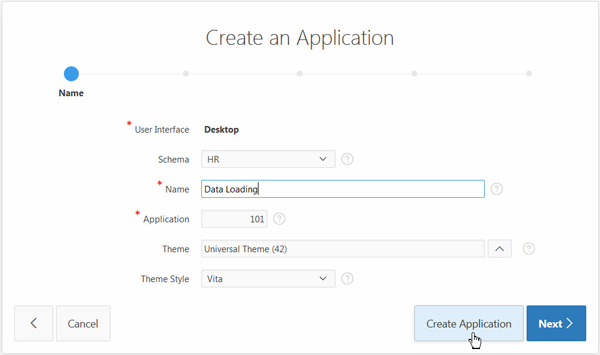
Description of this image -
Click Create Application.
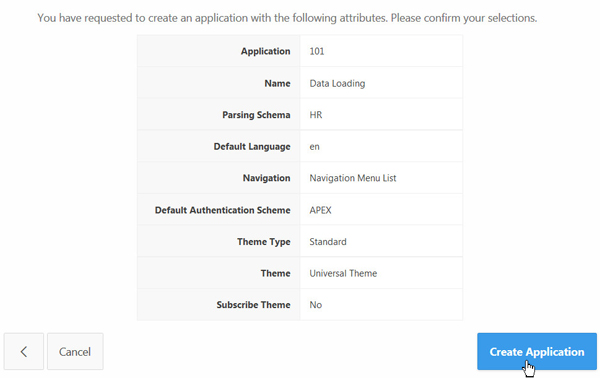
Description of this image -
Your application was created successfully. You want to create a report region on the Home page. Click the Home icon.
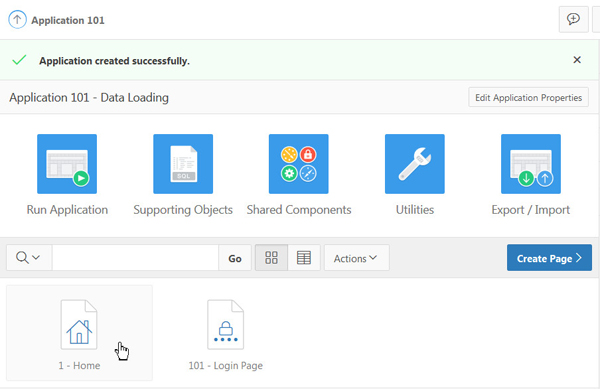
Description of this image -
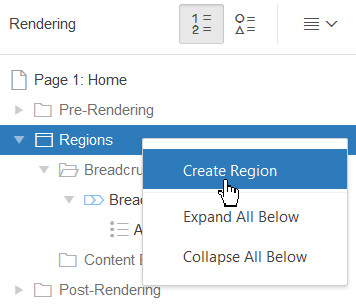
Right-click Regions and select Create Region.
Description of this image -
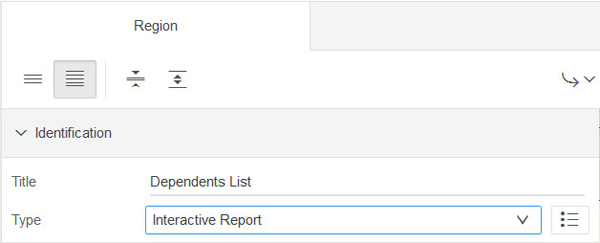
Type Dependents List for Title and select Interactive Report for Type.
Description of this image -
Enter the following SQL SELECT statement and click the Save and Run Page icon.
 select FIRST_NAME,LAST_NAME,BIRTHDATE,RELATION,GENDER,RELATIVE_ID
from DEPENDENTS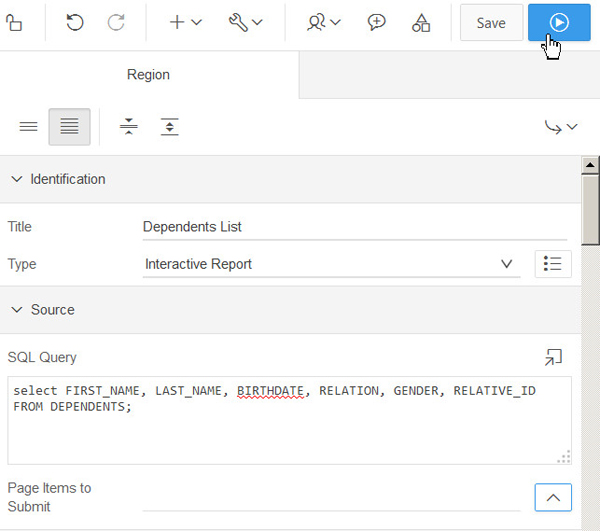
Description of this image -
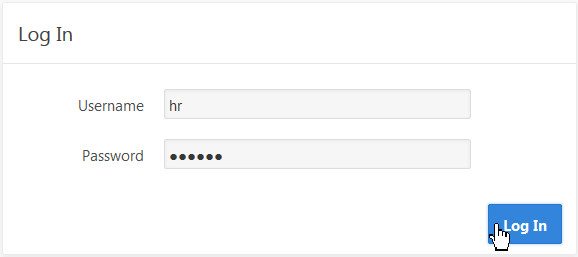
Type a valid user name and password and click Log In.
Description of this image -
The Home page displays the report. The reason you don't see any data is because the table is currently empty. In the next section, you use the Data Loading Page wizard to create a Data Load wizard. You will then use the Data Load wizard to load data into the DEPENDENTS table. After you load the data into the table, this report will display the loaded data. Click the Application link in the developer toolbar.
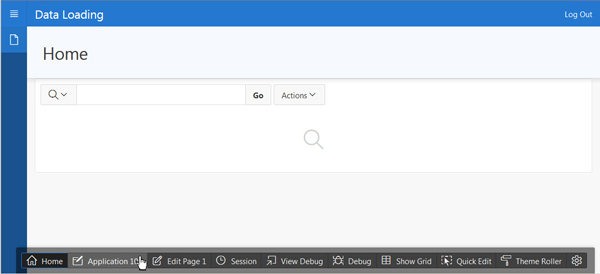
Description of this image
Creating a Data Load Wizard Using the Data Loading Page Wizard
In this section, you use the Data Loading page wizard to create four pages in your application that an end user will run to load data into the DEPENDENTS table. Perform the following steps:
-
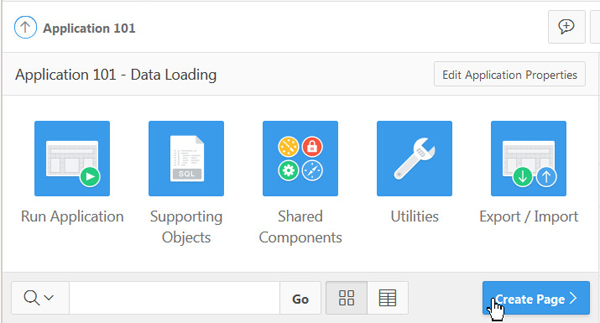
Click Create Page.
Description of this image -
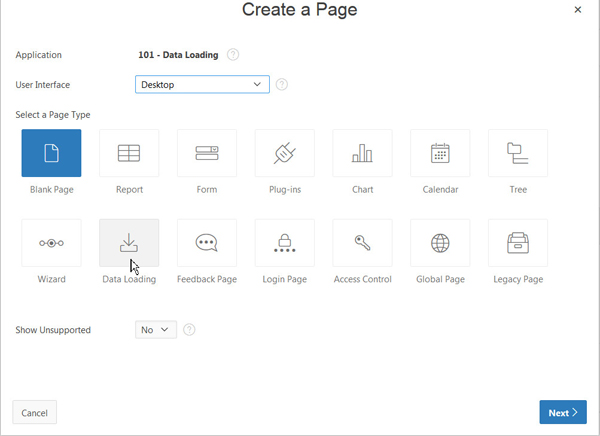
For Page type, click the Data Loading icon.
Description of this image -
You need to specify the table you want to load data into and what columns uniquely identify the dependent in the table. In this case, the concatenation of FIRST_NAME and LAST_NAME uniquely identify a Dependent in the DEPENDENTS table. Specify and/or select the following and click Next.
Data Load Definition Name Load Dependents Table Name DEPENDENTS Unique Column 1 FIRST_NAME (Varchar2) Unique Column 2 LAST_NAME (Varchar2) 
Description of this image -
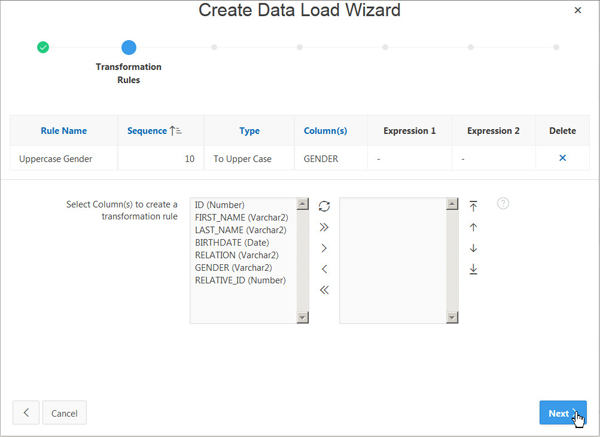
You want to create a transformation rule to make sure that when the data is stored, the data for the GENDER column is stored in Upper Case. Specify and/or select the following and click Add Transformation.
Column Name Gender Rule Name Uppercase Gender Type
To Upper Case 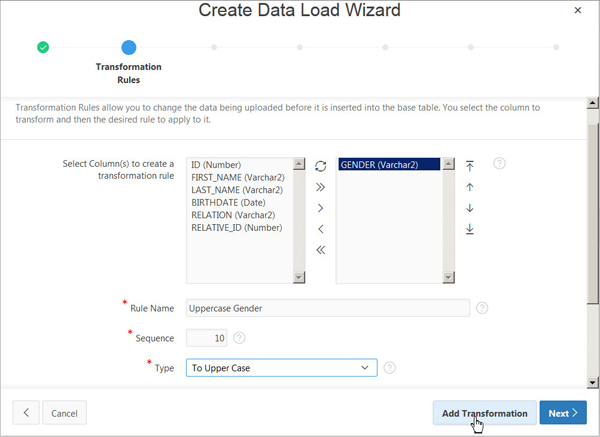
Description of this image -
The transformation was created. Click Next.
Description of this image -
You want to add a lookup for this data load. In this case, the relative_id should correspond to the id of the
EMPtable so that it is a valid employee of this dependent. Specify and/or select the following and click Add Lookup.
Column Name RELATIVE_ID Table Name EMP
Column Name(of key value)
EMPNO Uploaded Column
ENAME 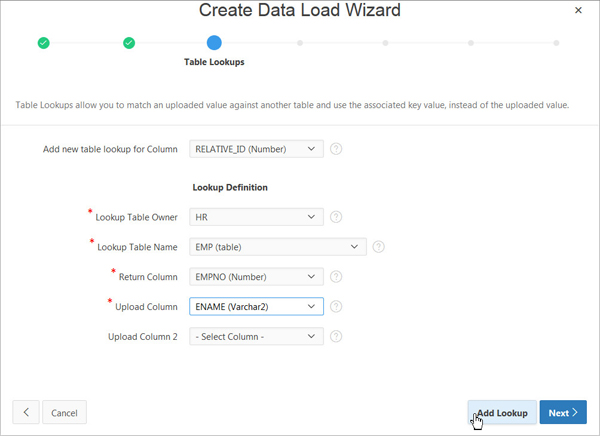
Description of this image -
The lookup for RELATIVE_ID was created, click Next.
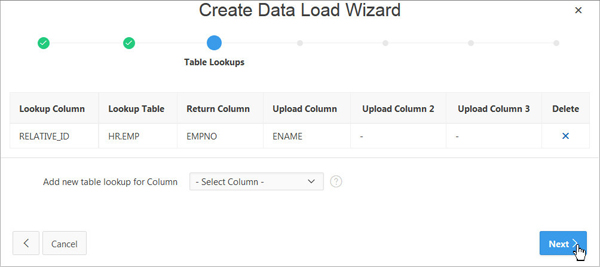
Description of this image -
The Data Load Wizard will contain the four pages as described in the Pages Attributes page. Click Next.
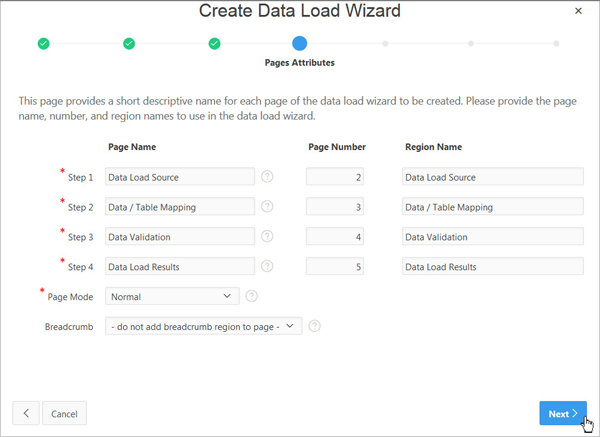
Description of this image -
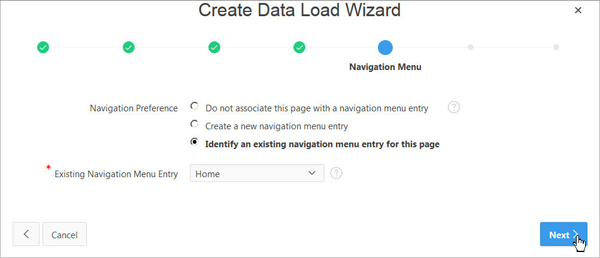
For Navigation Preference, select Identify an existing navigation menu entry for this page option. For Existing Navigation Menu Entry, select Home. Click Next.
Description of this image -
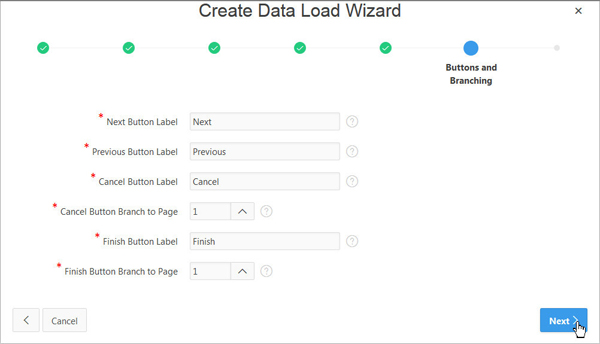
If the user selects the Cancel or Finish buttons, the Home page should be displayed. For this, type 1 in the Cancel Button Branch to Page and Finish Button Branch to Page fields and click Next.
Description of this image -
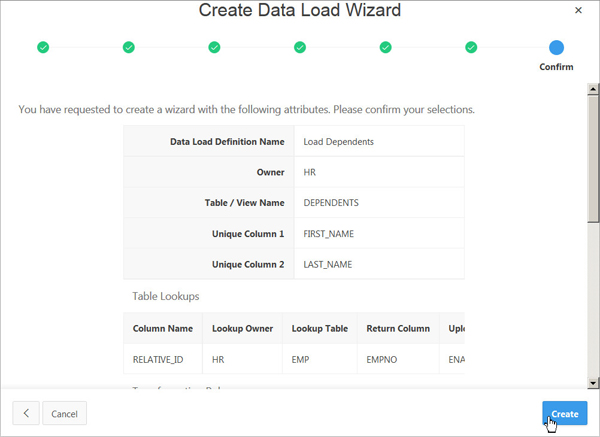
Click Create to create the wizard pages for the data load. In the next section, you test the Data Load Wizard pages that were created.
Description of this image
Testing Your Data Load Wizard
In this section, you test your data load wizard pages by loading some data. Perform the following steps:
-
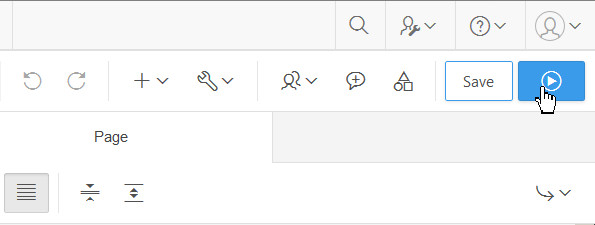
Click Save and Run Page.
Description of this image -
Type your login information and click Login.
Description of this image -
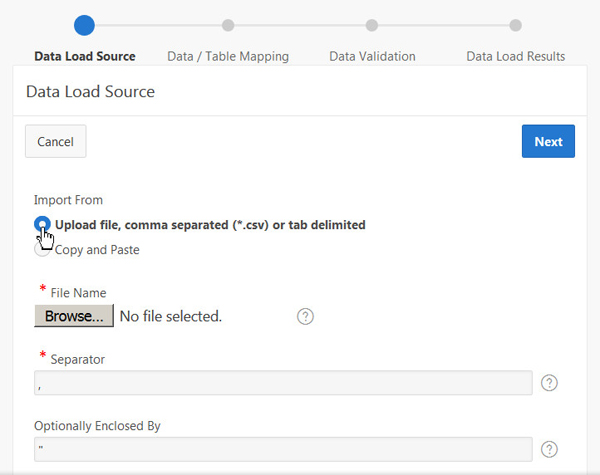
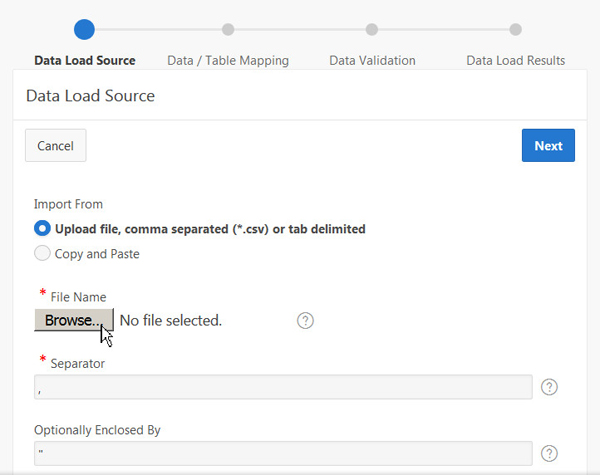
You want to load the data using a tab delimited file. Click the Upload file option for Import From.
Description of this image -
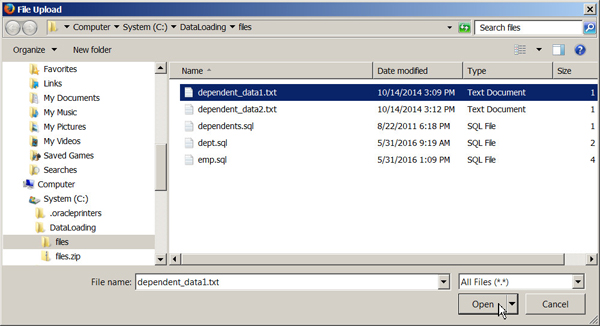
Click Browse.
Description of this image -
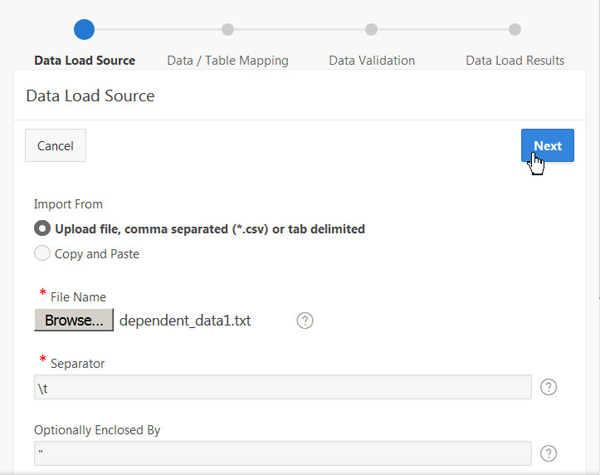
Select the dependent_data1.txt file and click Open.
Description of this image -
Click Next.
Description of this image -
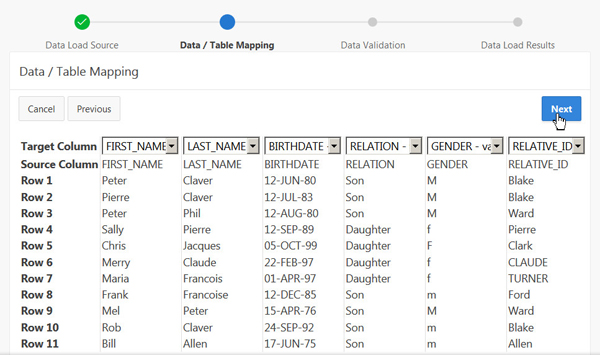
Notice that there are some values for the GENDER column that are lower case and that the values for RELATIVE_ID are the employee names that the dependents are relatives of. When you click Next, the Lookup and Transformation Rules will be applied. Click Next.
Description of this image -
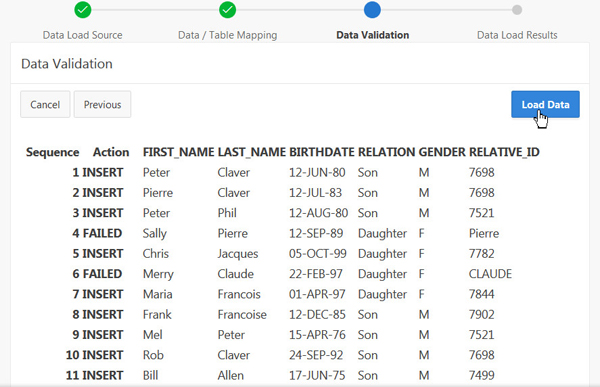
Notice now that all the values for GENDER are uppercase and the EMPNO of the relative is applied for each ENAME that is found in the EMP table. Notice that there are two names it did not find so an error will be generated when the Load takes place. Click Load Data.
Description of this image -
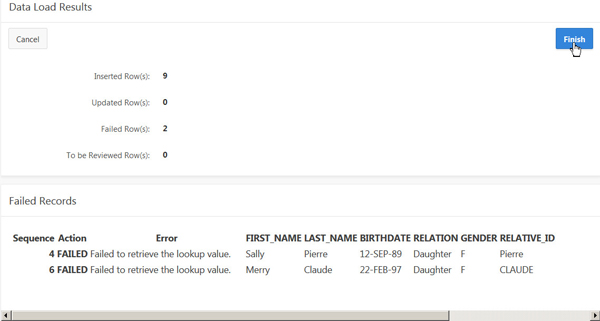
Notice that 9 rows were inserted and the 2 rows for the lookup that were not found failed. Click Finish.
Description of this image -
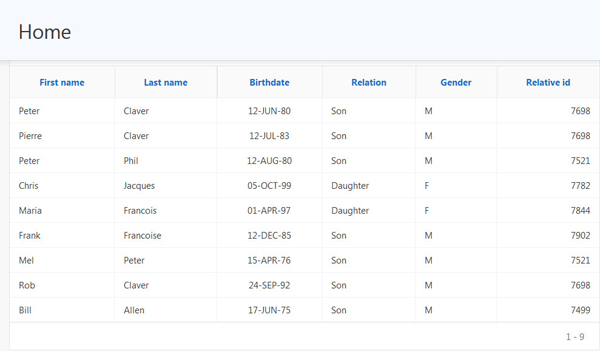
The Home page is now displayed and the report contains the data that you just loaded.
Description of this image -
This time you want to use the Copy and Paste option instead of uploading a file. Click Copy and Paste.
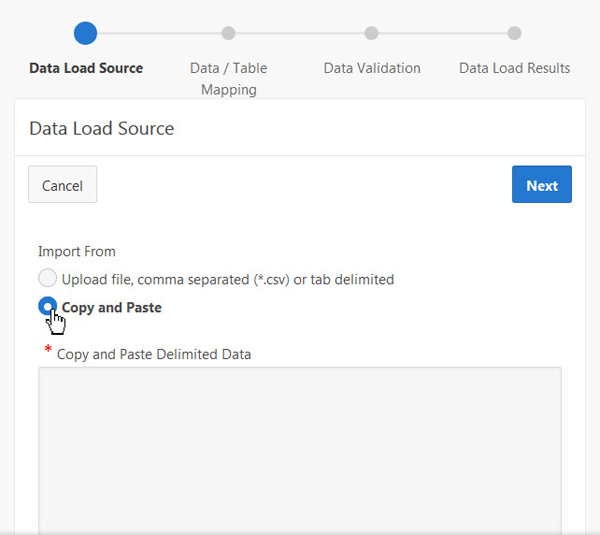
Description of this image -
Open the dependent_data2.txt file and copy the entire contents of the file to your clipboard (ctrl+c).
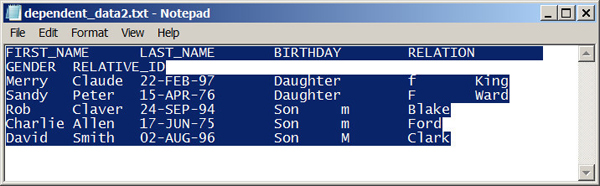
Description of this image -
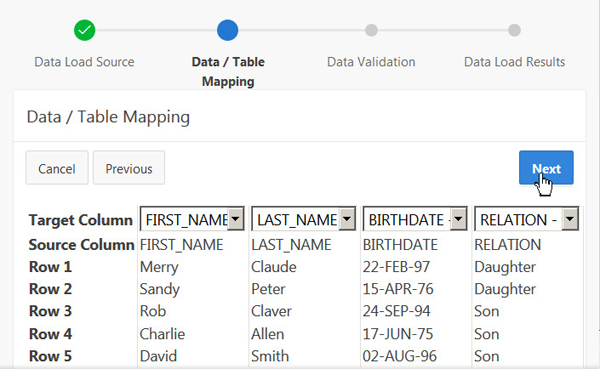
Paste the contents into the Copy and Paste Delimited Data area, make sure the First Row has Column Names is still checked and click Next. Note that the third column name is set to BIRTHDAY instead of the column name in the DEPENDENTS table which is BIRTHDATE.
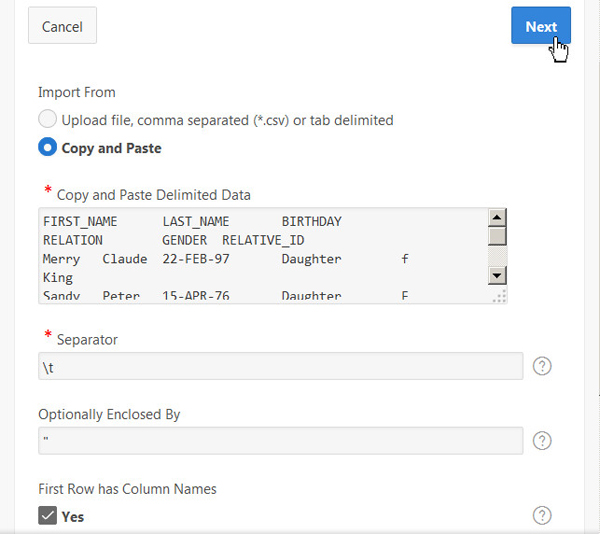
Description of this image -
Because the column name did not match, you need to select the column name from the list. Select BIRTHDATE from the list for the third column.
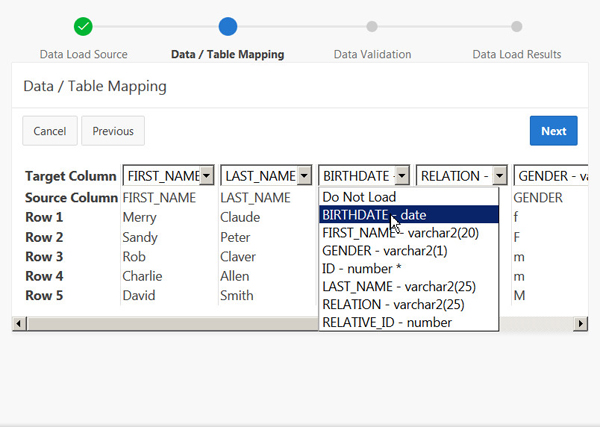
Description of this image -
Click Next to apply the lookup and transformation rule.
Description of this image -
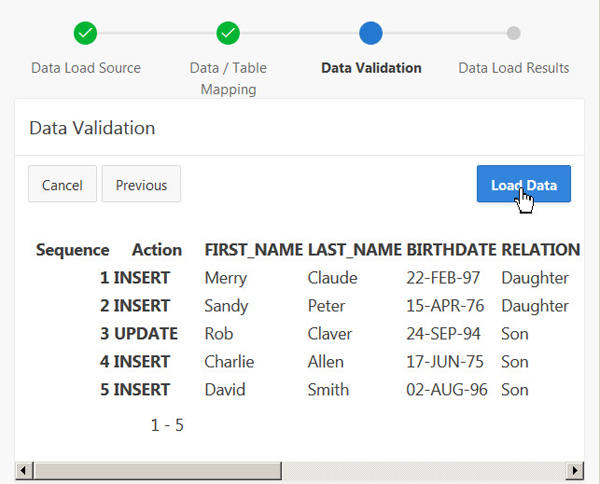
Notice the values for GENDER are in uppercase and all the EMPNO values were found in the EMP table. All the data will be inserted and one row will be updated because it had the same FIRST_NAME and LAST_NAME as the previous load. Click Load Data.
Description of this image -
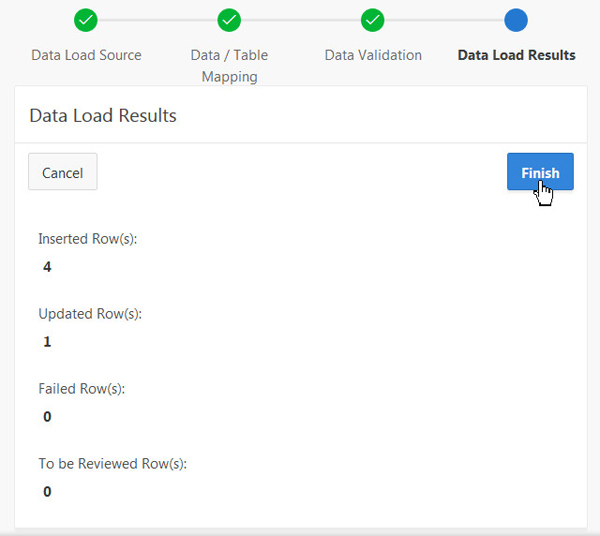
The data load results are displayed. Click Finish to return to the Home page.
Description of this image -
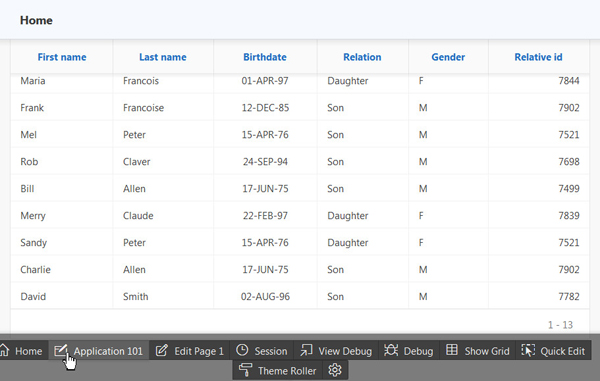
The report is updated with the additional and revised data. In the next section, you review the data load definition. Click the Application link in the developer toolbar.
Description of this image
Review the Data Load Definition
In this section, you review the Data Load definition so that if desired, you can make changes. Perform the following steps:
-
Notice that four Data Load pages were created in your application. To see the Data Load definition for these pages, Click Shared Components.
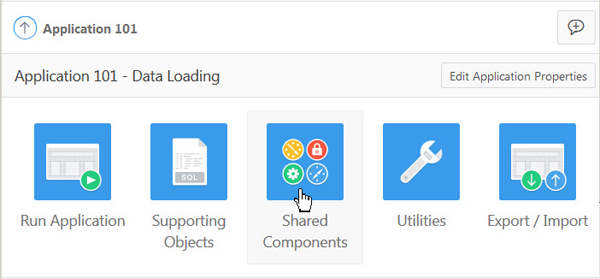
Description of this image -
Under Data References, click Data Load Definitions.

Description of this image -
Click the Load Dependents definition.
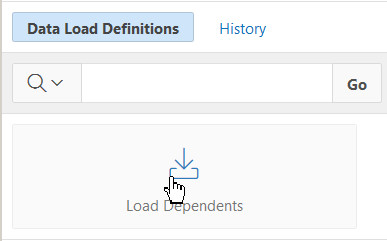
Description of this image -
The definition is displayed. Note that you can create or modify any existing Table Lookups or Transformation Rules from this page.
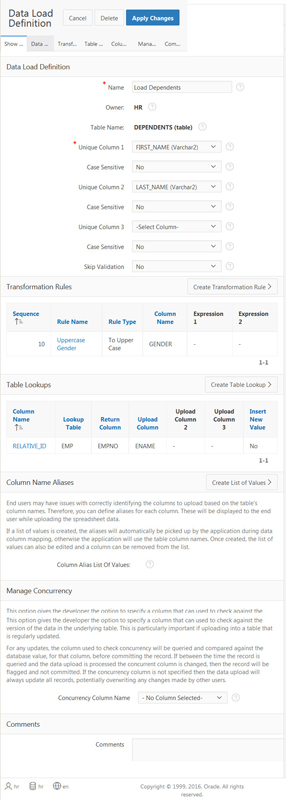
Description of this image