
 Before You Begin
This 5 minute tutorial shows you how to create a new application using the REST Enabled SQL Service reference. This is the fourth in the series Oracle Application Express 18.1: Using REST Enabled SQL Service Reference. Read the tutorials in sequence:
- Oracle Application Express 18.1: Using REST Enabled SQL Service Reference (1 of 4)
- Oracle Application Express 18.1: Using REST Enabled SQL Service Reference (2 of 4)
- Oracle Application Express 18.1: Using REST Enabled SQL Service Reference (3 of 4)
- Oracle Application Express 18.1: Using REST Enabled SQL Service Reference (4 of 4)
Background
In this OBE, you will learn how to create a new application in
the obe workspace using the REST enabled SQL
service reference to the hr schema.
What Do You Need?
- Install the latest version of the Oracle VM VirtualBox
- Download and import the Database App Development VM in to
the Oracle VM VirtualBox
Note: SQL Developer 4.2, Oracle Database 12c, and Oracle Application Express 18.1 are installed in the Database App Development VM
 Create
an Application
Create
an Application
In this section, you will learn how to create an application using REST Enabled SQL reference to the hr schema. To create the app:
- Log in to Oracle Application Express 18.1 using these credentials:
- Workspace: Enter
obe - Username: Enter
obe - Password: Enter
oracle - Click Sign in
- On the workspace home page, click App Builder.
- Click Create.
- Select New Application and click Next.
The Create an Application wizard opens.
- In the Name field, enter
REST Enabled SQL.
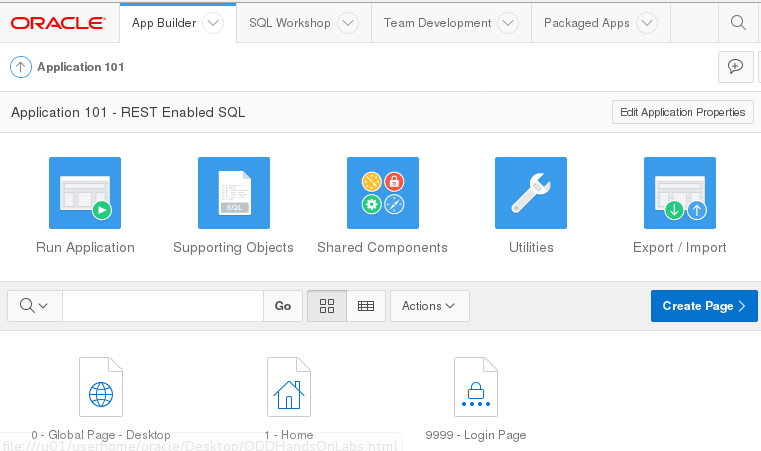
Note: Leave all other fields blank in this dialog. For now, you will create the empty shell of the application. Click Create Application. Once the application is created, the application home page opens, as shown in the screenshot. The application home page displays the application ID, application name, and three default pages.
 Add
Pages in the Application
Add
Pages in the Application
In this section, you will learn how to add pages to the application REST Enabled SQL. You will add the following two pages:
- Interactive Report
- Calendar
2.1 Add an Interactive Report
To add an interactive report:
- In the application REST Enabled SQL home page, click Create Page.
- In the Create a Page dialog, select Report.
- In the Create Page dialog, select Interactive Report.
- In the Create Interactive Report - Page Attributes dialog, enter the following to define the page attributes:
- Page Name: Enter
Projects - Page Mode: Select Normal
- Breadcrumbs: Select Breadcrumbs
- Parent Entry: Select No parent entry
- Click Next.
- In the Create Interactive Report - Navigation Menu dialog, enter the following to define the navigation for this page:
- Navigation Preference: Select Create a New Navigation Menu Entry.
- New Navigation Menu Entry: Displays the page name.
- Parent Navigation Menu Entry: Select -No Parent selected-
- Click Next.
- In the Create Interactive Report - Report Source dialog, enter the following to define the data source for this report:
- Data Source: Select REST Enabled SQL Service
- REST Enabled SQL Service: Select HR Schema
- Source Type: Select Table
- Table/View Owner: Select Current Schema
- Table/View Name: Select SAMPLE$PROJECTS
Note: Since you have connected to the hr schema, you will see that list of tables available in this field belongs to the Sample Project sample dataset.
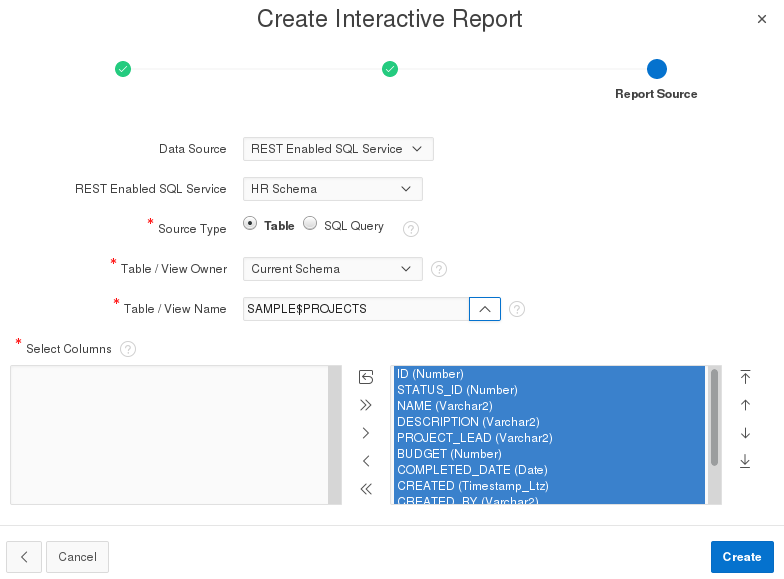
Description of the illustration create_report_datasource.png - Click Create. The wizard creates and adds the new page Projects to the application REST Enabled SQL. The page opens in Page Designer.
- Click the Save and Run to run this page.
- On the Sign in page of the application REST Enabled SQL, enter the following credentials:
- Username: Enter
obe - Password: Enter
oracle - Exit the running application and click the Up Arrow next to application ID. The App Builder home page appears.

2.2 Add a Calendar
To add a calendar to the application REST Enabled SQL:
- On the App Builder home page, select the REST Enabled SQL application.
- On the application home page, click Create Page.
- In the Create Page dialog, select Calendar and click Next.
- In the Create Page - Page Attributes dialog, enter the following to define the page attributes:
- Page Name: Enter
Tasks Calendar - Page Mode: Select Normal
- Breadcrumbs: Select Breadcrumbs
- Parent Entry: Select No parent entry
- Entry Name: Displays the page name that you have entered
- Click Next
- In the Create Page - Navigation Menu dialog, enter the following to define the navigation for this page:
- Navigation Preference: Select Create a New Navigation Menu Entry
- New Navigation Menu Entry: Displays the page name.
- Parent Navigation Menu Entry: Select -No parent selected-
- Click Next
- In the Create Page - Source dialog, enter the following to define the data source for this page:
- Data Source: Select REST Enabled
SQL Service
- REST Enabled SQL Service: Select HR
Schema
- Source Type: Select Table
- Table/View Owner: Select Current
Schema
- Table/View Name: Select SAMPLE$PROJECTS_TASKS
Note: Since you have connected to thehrschema, you will see that list of tables available in this field belongs to the Sample Project dataset. - Click Next.
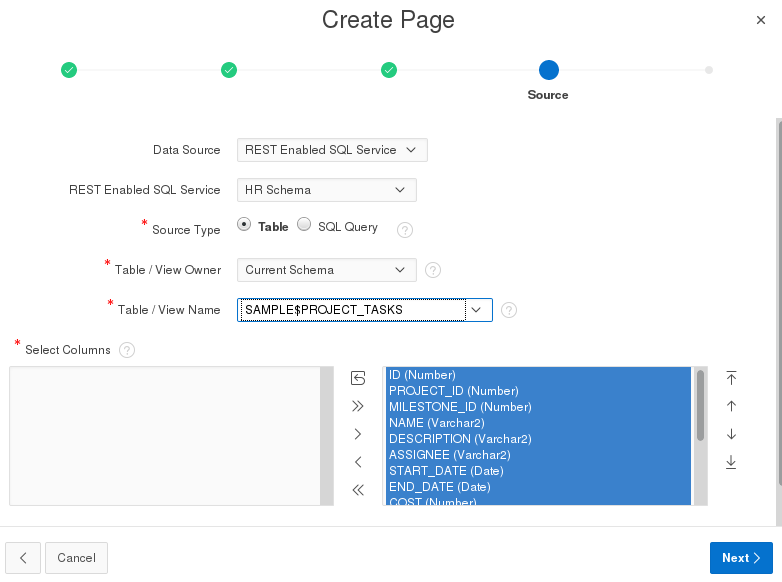
Description of the illustration create_calendar_datasource.png - In the Create Page - Settings dialog, enter the following to define the page:
- Display Column: Select Name
- Start Date Column: Select Start Date
- End Name Column: Select End Date
- Show Time: Select No
- Click Create. The wizard creates and adds
the page Task Calendar to the application REST
Enabled SQL. The page opens in Page Designer.
This page uses the REST Enabled SQL reference to communicate to the remote data source containing the hr schema. - Click the run icon to run this page. Once the page runs successfully, the sign in page of application REST Enabled SQL opens in a new tab.
- Sign in to the application REST Enabled SQL using the following credentials:
- Username: Enter
obe - Password: Enter
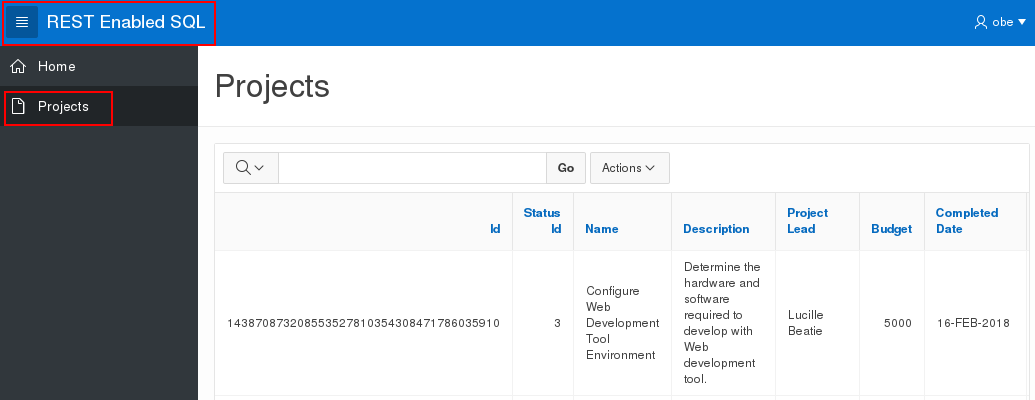
oracleNote: The application REST Enabled SQL has two pages in it - Tasks Calendar and Projects. You will see that the Calendar page contains the data from the hr schema.
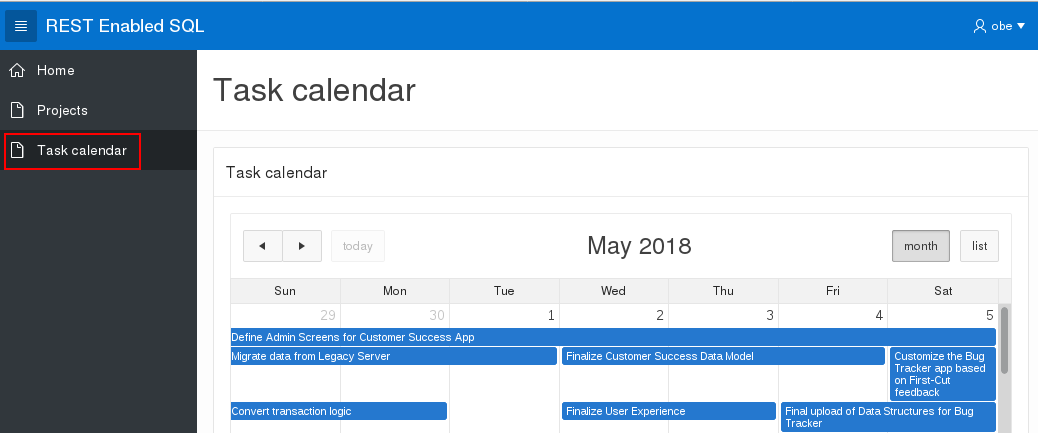
Description of the illustration app_projects_cal.png