Before You Begin
Purpose
This tutorial shows you how to build, use, and customize a Websheet Application in Oracle Application Express 5.1.
Time to Complete
Approximately 60 minutes
Background
Oracle Application Express (Oracle APEX) is a rapid web application development tool for the Oracle database. Using only a web browser and limited programming experience, you can develop and deploy professional applications that are both fast and secure. Oracle Application Express is available with the Oracle Database, whether it's on-premises or in the Oracle Cloud.
In this tutorial, you use Oracle Application Express Release 5.1 to create and modify a mobile web application.
Please keep in mind the following while running this tutorial:
- Logging into your Oracle Application
Express workspace: Your Oracle
Application Express workspace may reside in an
on-premises Oracle Database or in Oracle Database
Cloud Services. The login credentials differ
depending on where your workspace is located:
- Logging into Oracle Application Express in a Oracle Database Cloud Service: Reference the Oracle Help Center for your Oracle Database Cloud Service. To do this, go to the Oracle Help Center for Cloud, and select Platform or Infrastructure (depending on your service). From here, select your Database Cloud Service and the Get Started page will appear.
- Logging in to Oracle Application Express on-premises: From your browser, go to the location of your on-premises installation of your Oracle Application Express workspace provided by your Workspace Administrator.
- Application ID: Screenshots in this tutorial show a blurred Application ID. Your Application ID can be any value assigned automatically while creating the application.
- Schema: If you are accessing an Oracle Application Express workspace in Database Schema Service, you have one schema assigned to you with a schema name that you cannot change. If you are accessing the workspace in an on-premises Oracle database, you may have more than one schema assigned to your workspace by the Oracle Application Express Instance Administrator.
What Do You Need?
- Visit Oracle Help Center for Cloud.
- Access to an Oracle Database 11g or later release, either on-premises or in a Database Cloud Service.
- Oracle Application Express Release 5.1 into your Oracle Database (for on-premises only).
- At least one Oracle Application Express user provisioned. See Creating New User Accounts in Oracle Application Express Administration Guide.
- The files.zip file into your working directory.
-
All files for this hands-on activity are located in the
Home/Desktop/APEX_Track/filesfolder. -
The following files are used in this hands-on activity:
hr_logo.jpeg
overview.txt
resources.xls
tasks.xls
Creating and Running a Websheet Application
Websheet applications are collections of pages that support wiki syntax. Each page can be organized into sections. Pages can also be organized into a hierarchy. Sections can be edited using a friendly editor.
Websheets provide the following functionality:
- Create and share content over the web using your browser.
- Organize web pages in a hierarchy and cross link pages (using [[ pagename ]] syntax).
- Create and manage tabular data using an embedded feature called Data Grids.
- Create interactive reports using SQL on existing data structures in your database.
- Expose Data Grid and Report data within pages as a chart or a report.
- Annotate pages with files, tags and notes.
- Associated images can be shown inline within page content (using [[image: filename]] syntax).
- Search page content (using search box in upper right hand).
- Manage who can log in and once logged in, who can read, write or administer the application (authentication and authorization).
-
In the Application Express login page, enter the following login credentials and click Sign In:
Workspace: obe
Username: obe
Password: oracle
Description of this image -
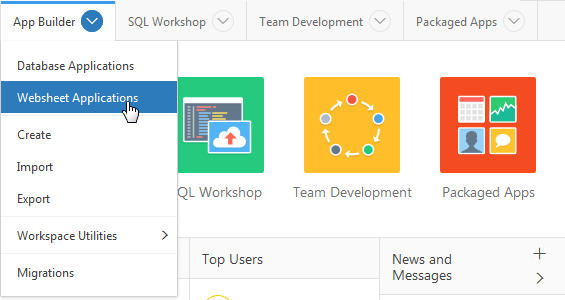
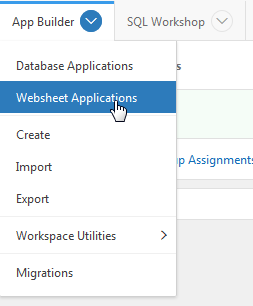
After you login to your workspace, click the down arrow in the Application Builder tab and select Websheet Applications.
Description of this image -
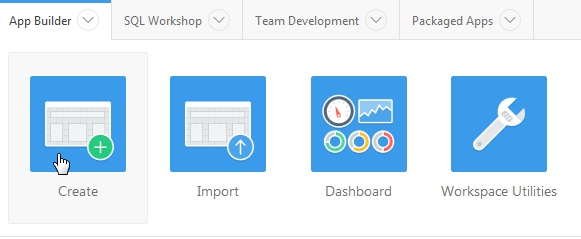
Click Create.
Description of this image -
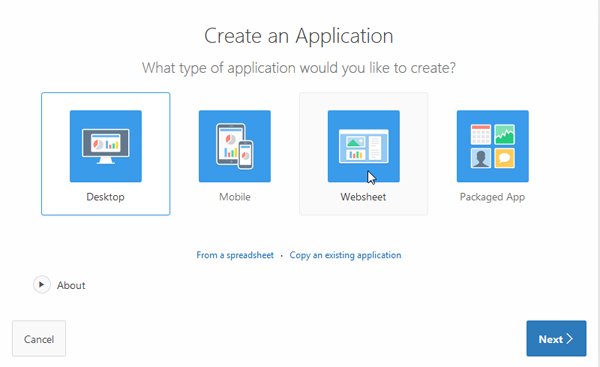
Click Websheet.
Description of this image -
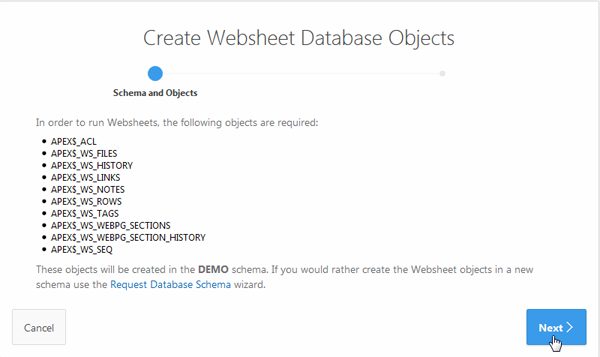
You might optionally get the following dialog if the required websheet database objects are not already created for your Database Schema Service. Click Manage Websheet Database Objects >. Alternatively, if you do not see the below dialog, you can skip the steps 3 to 6 and continue from step 7 of this OBE directly.

Description of this image -
Click Next >.
Description of this image -
Click Create.

Description of this image -
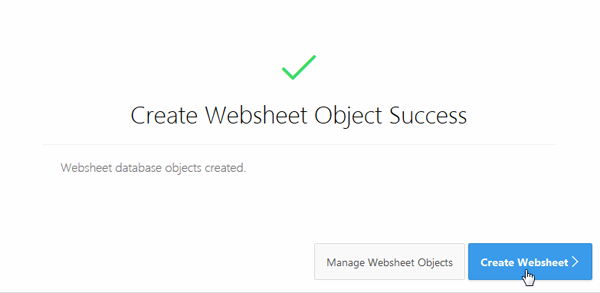
The required websheet database objects are created. Now, click Create Websheet >.
Description of this image -
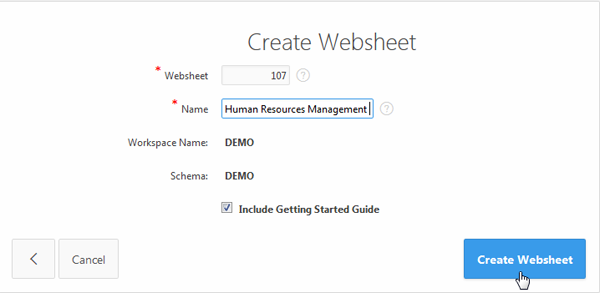
Click Create Websheet.
Description of this image -
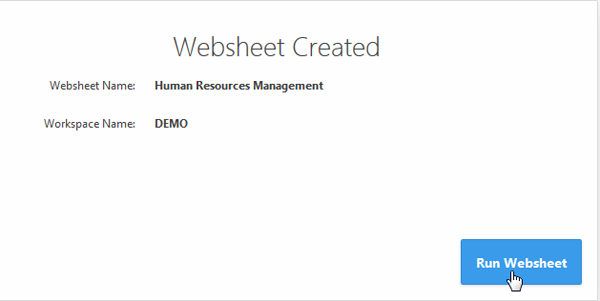
Clcik Run Websheet.
Description of this image -
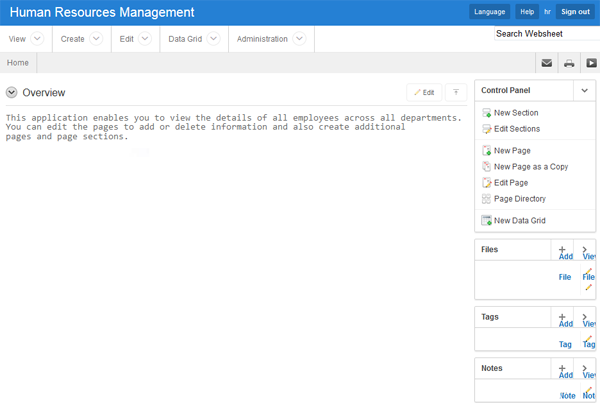
If prompted, enter the credentials you used to log in to your Oracle Application Express workspace and click Log In. The Application is created with a default Home page.

Description of this image
To create a Websheet Application, perform the following steps:
Adding a Text Section to a Page
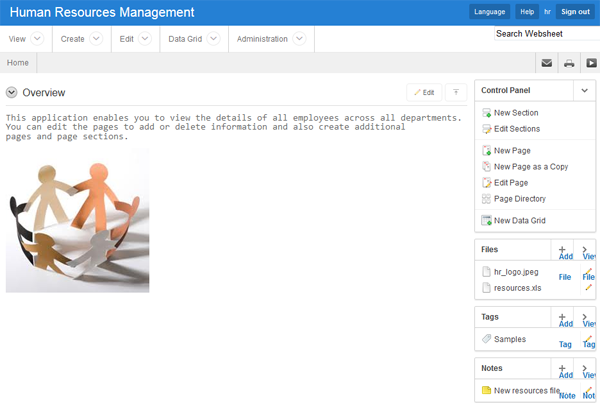
In this topic, you will create a text section called Overview in the Home page. The text to enter in the section is available in the overview.txt file. Perform the following steps:
-
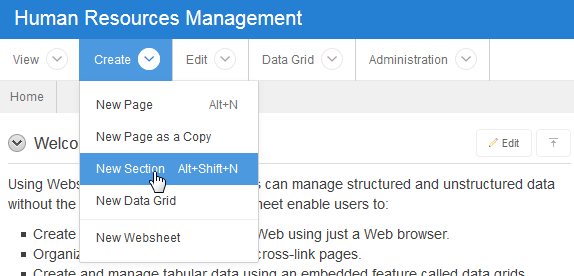
Click the Create button and select New Section.
Description of this image -
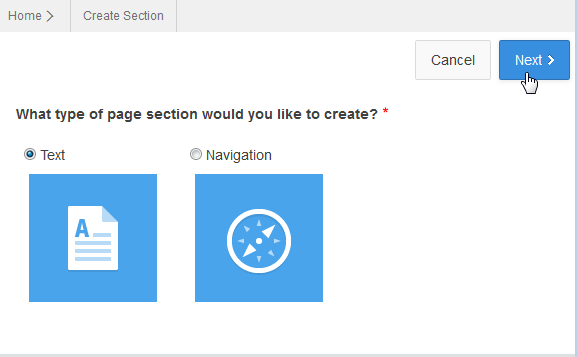
Ensure Text is selected and click Next >.
Description of this image -
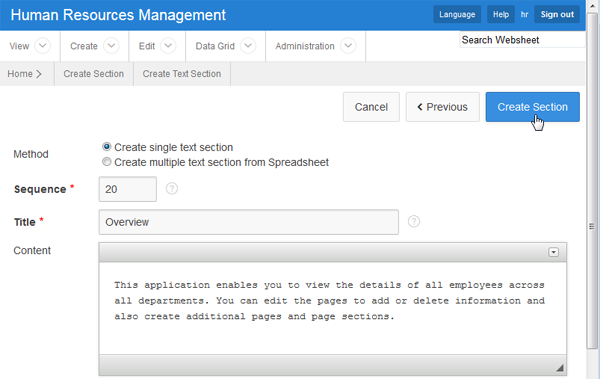
Enter Overview for Title. Open the overview.txt file and copy paste its contents to the Content field. Then, click Create Section.
Description of this image -
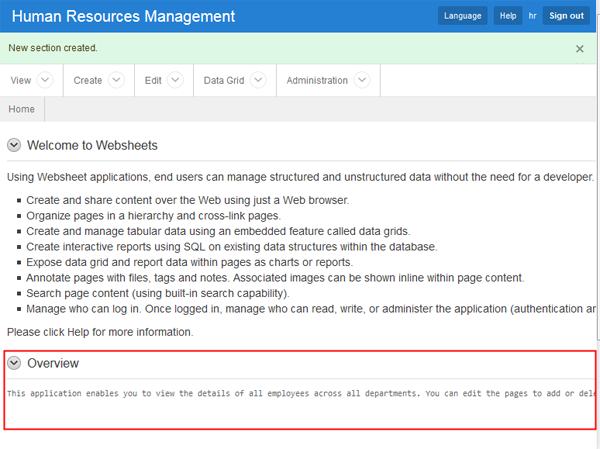
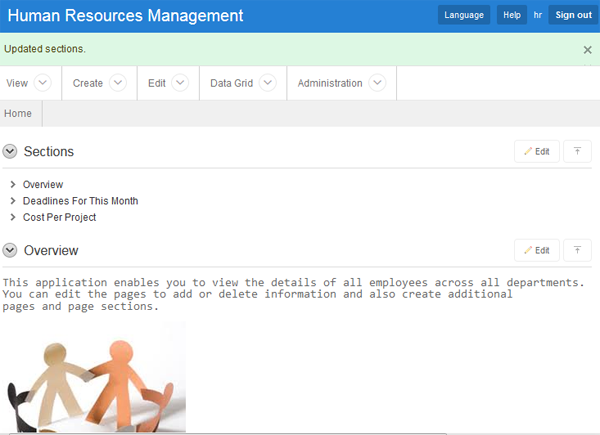
The Overview section is added to the Home page.
Description of this image -
Delete the Welcome to Websheets section. Click the edit icon and then click Delete.
Description of this image
Adding Annotations to a Page
You can annotate any page in your application with files, tags, and notes.
Adding a File
To add a file to the Home page, perform the following steps:
-
Click the Add File(+) icon in the Files section of the page.
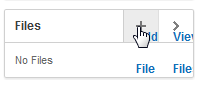
Description of this image -
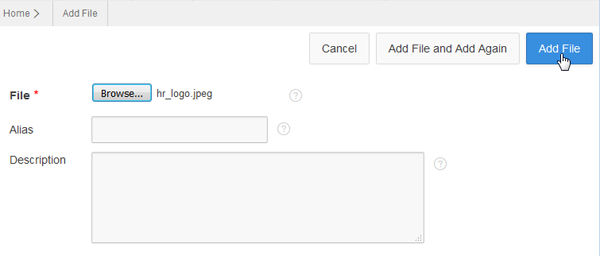
Click Browse and choose the resources.xls file in the files folder and click Open. Then, click Add File.

Description of this image -
The file is added to the page. Users can download and view the file by clicking the file name.
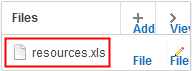
Description of this image
Adding a Tag
Tags enable you to organise your content for an easier search. To add a tag to a page, perform the following steps:
-
Click the Add Tag (+) icon in the Tags section of the page.
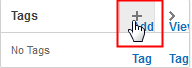
Description of this image -
Enter samples in the Tags field and click Add Tags.
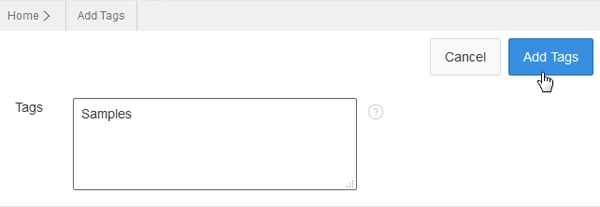
Description of this image -
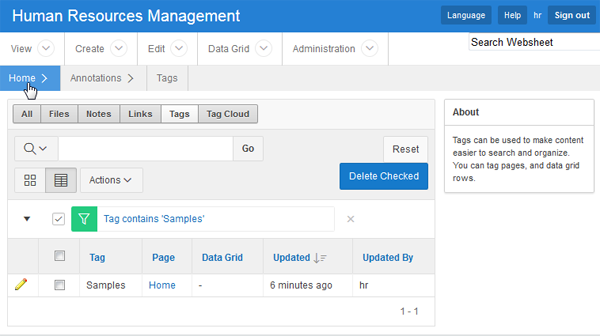
The tag is added to the page.
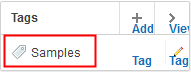
Description of this image -
At a later point in time if you want to view the tags you have added, click the View button and select Tags.
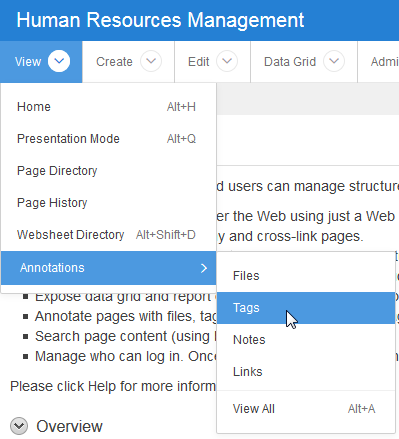
Description of this image -
The samples tag you had created is listed. Click the samples tag.
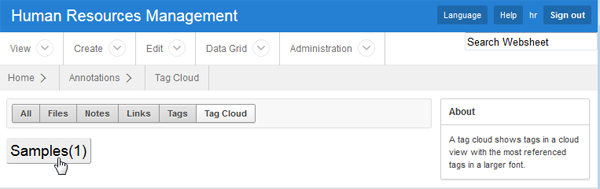
Description of this image -
The pages that are tagged with this samples tag are listed. Click the Home breadcrumb to return to the Home page.
Description of this image
Adding a Note
To add a note, perform the following steps:
-
Click the
Adding a Note
To add a note, perform the following steps:
-
Click the Add Note (+) icon in the Notes section of the page.
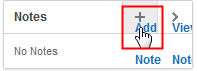
Description of this image -
Add New resources file has been added. in the Note field and click Add Note.
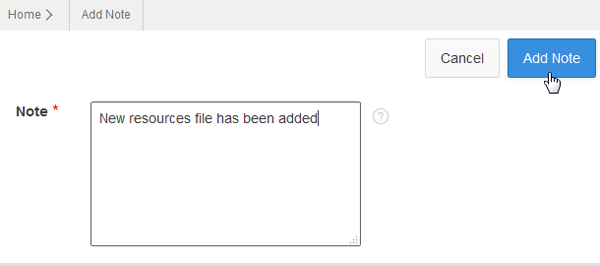
Description of this image -
The note is added to the page. You can click the pencil icon to edit the note.
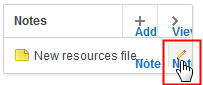
Description of this image
-
Displaying a Image
You can include images in your pages by using the syntax [[IMAGE:<filename>]]. The image that you are referring to should be added to the files section of the page. To display an image in a page, perform the following section.
-
Click the Add File (+) icon in the Files section of the page.
Description of this image -
Click Choose File and locate the hr_logo image from the files folder. Then, click Add File.
Description of this image -
The hr_logo image is added to the page.
Description of this image -
Click the Edit icon for the Overview section.

Description of this image -
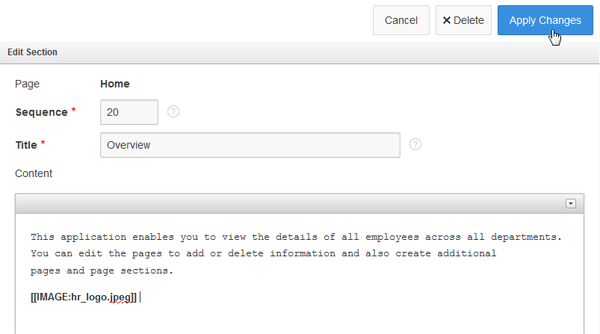
To display the image in this section, enter [[IMAGE:hr_logo.jpeg]] under the existing text in the Content field and click Apply Changes.
Description of this image -
The image is displayed in the page under the Overview section.
Description of this image
Creating a Data Grid
Data Grids allow you to create tabular data. You can create a data grid from scratch or by copy-pasting data from a spreadsheet.
Creating a Data Grid From Scratch
To create a data grid from scratch, perform the following steps:
-
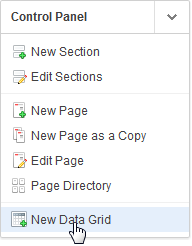
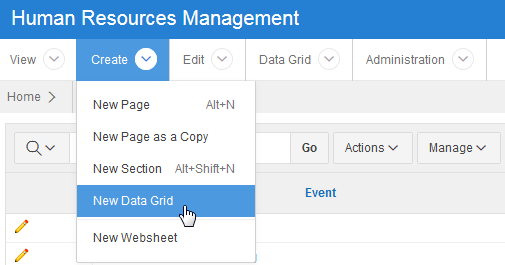
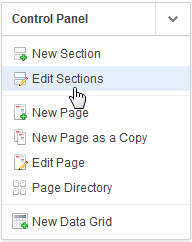
From the Control Panel, click New Data Grid. Alternatively, you can click Data Grid drop-down menu and select New Data Grid.
Description of this image -
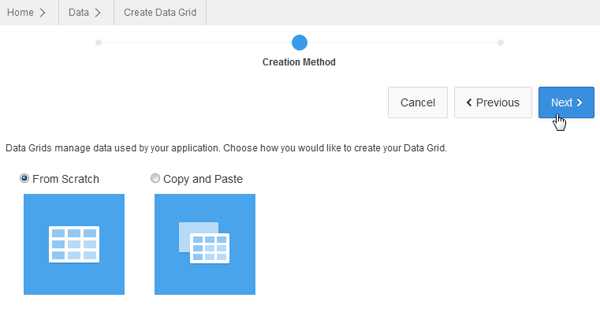
Ensure that From Scratch is selected and click Next >.
Description of this image -
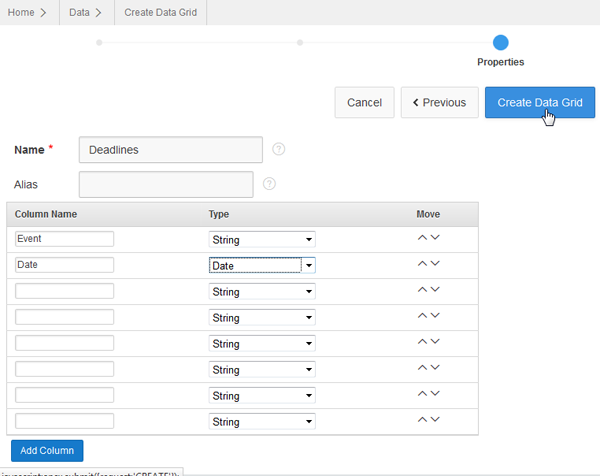
Enter Deadlines for Name. Enter Event in the first Column Name field. Enter Date in the second Column Name field and Date for Type. Then, click Create Data Grid.
Description of this image -
The data grid is created. To add data to the data grid, click Add Row.
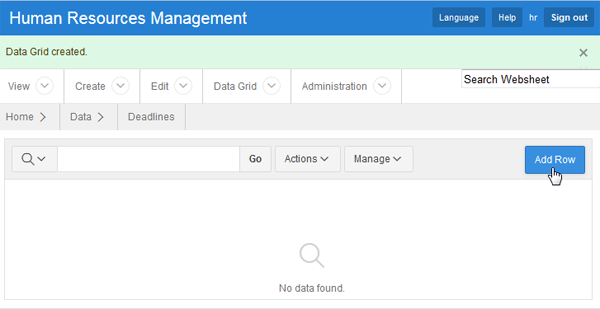
Description of this image -
Enter Update Payroll for Event and select a date for Date. Click Save and Add Another.
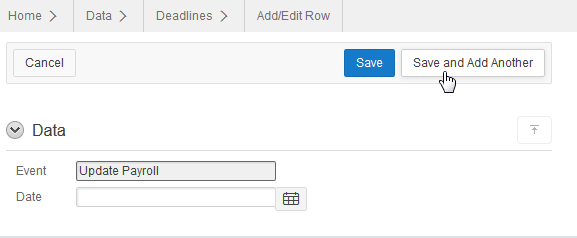
Description of this image -
Enter Complete New Hire Training for Event and select a date for Date. Click Save.
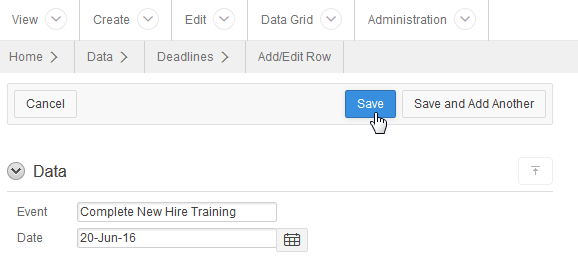
Description of this image -
The data is added to the data grid.
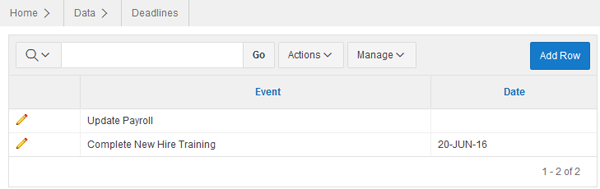
Description of this image
Creating a Data Grid From a Spreadsheet
To create a data grid from data in a spreadsheet, perform the following steps:
-
Click the Create drop-down menu and select New Data Grid. Alternatively, you can click Data Grid drop-down menu and select New Data Grid.
Description of this image -
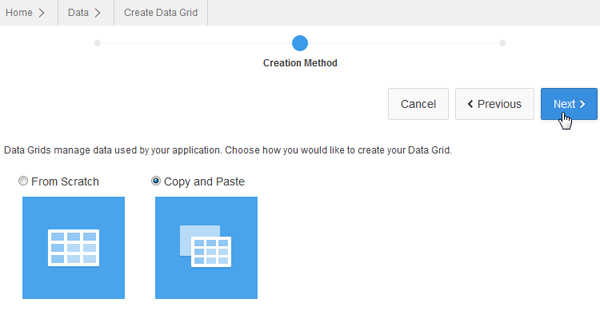
Select Copy and Paste and click Next >.
Description of this image -
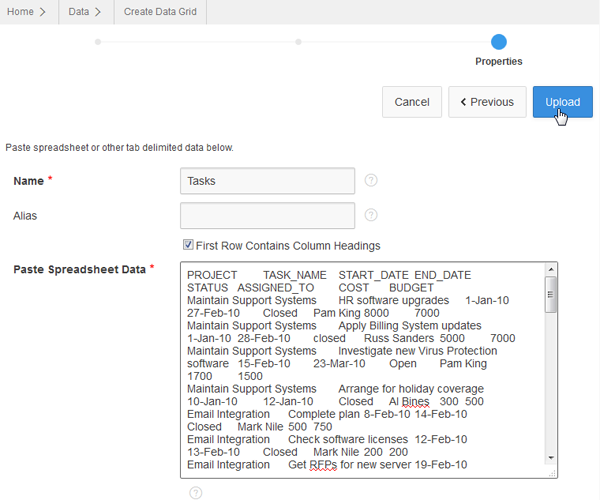
Enter Tasks in the Name field. Copy the data from the task.xls file and paste it in the Paste Spreadsheet Data field. Click Upload.
Description of this image -
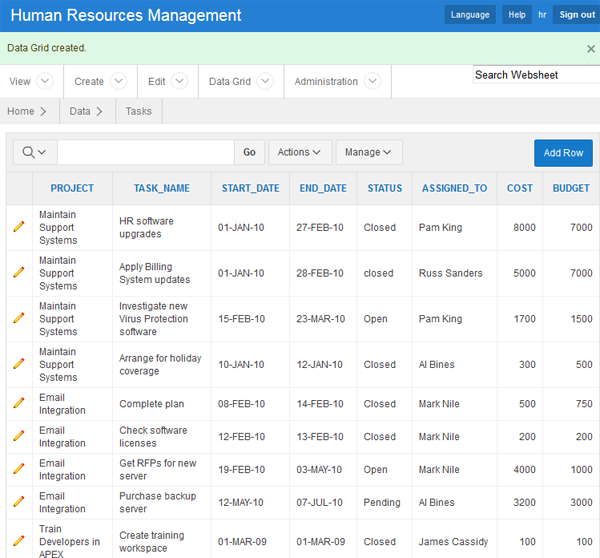
The spreadsheet data is added to the Tasks data grid.The data grid is created.
Description of this image
Creating a New Page as a Copy
In this section, you will create a new page as a copy of the existing Home page and customize the new page. To create a new page, perform the following steps:
-
Click the Create drop-down menu and select New Page as a Copy.
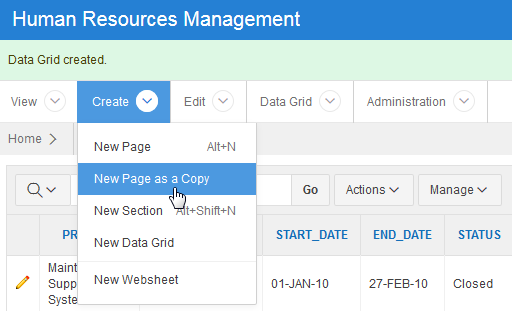
Description of this image -
Enter Reports for New Page Name and click Copy Page.
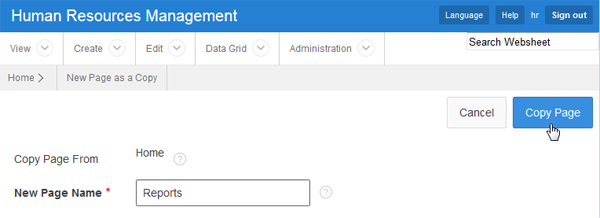
Description of this image -
Click View New Page.
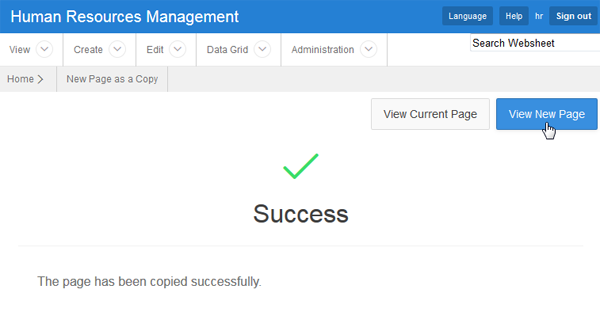
Description of this image -
Click the Edit icon for the Overview section.
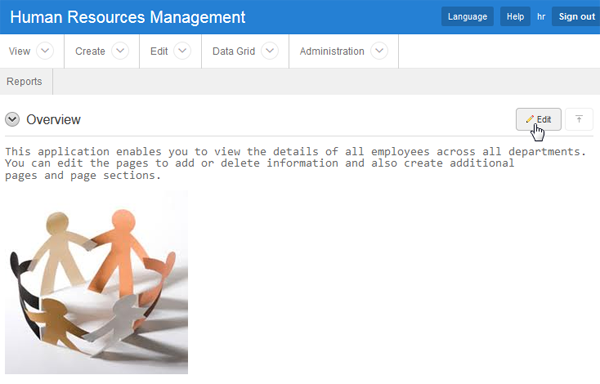
Description of this image -
Delete the existing content and enter This page contains some useful reports. in the Content field and click Apply Changes.
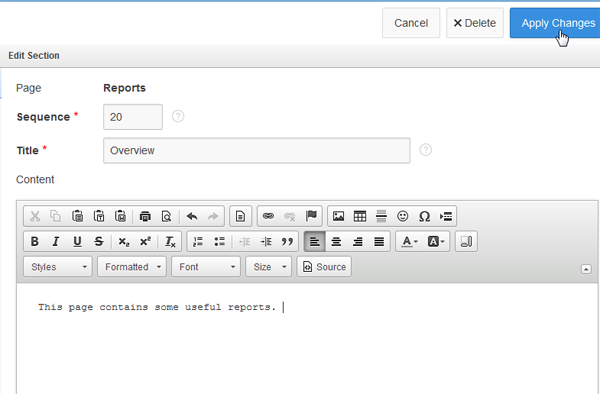
Description of this image -
The section is updated.
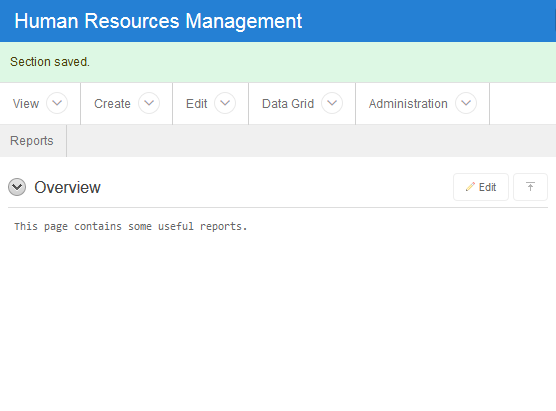
Description of this image
Creating a Data Section Based on Data From a Data Grid
In this section, you will create a data section in the new page. Perform the following steps:
-
From the Control Panel section, click New Section.

Description of this image -
Select Data and click Next.
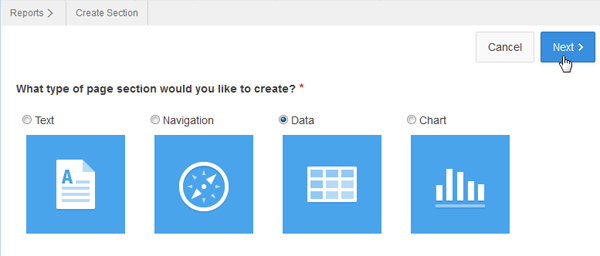
Description of this image -
Select Deadlines for Data Grid and select Primary Report for Report Settings to Use. Enter Deadlines For This Month in the Title field and select Next >.
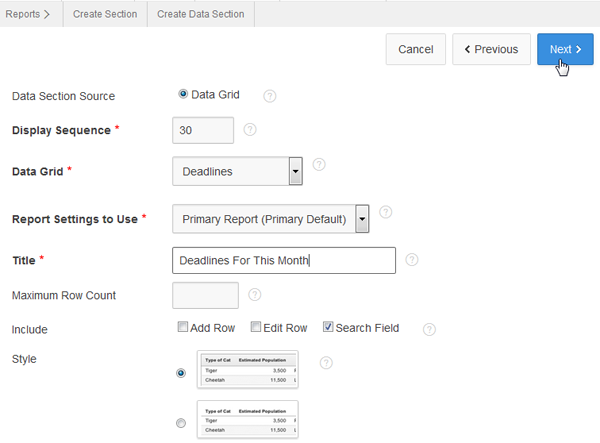
Description of this image -
Click Create Section.
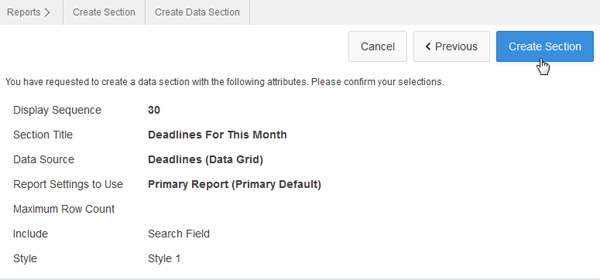
Description of this image -
A report on the Deadlines data gird is created in a new section.
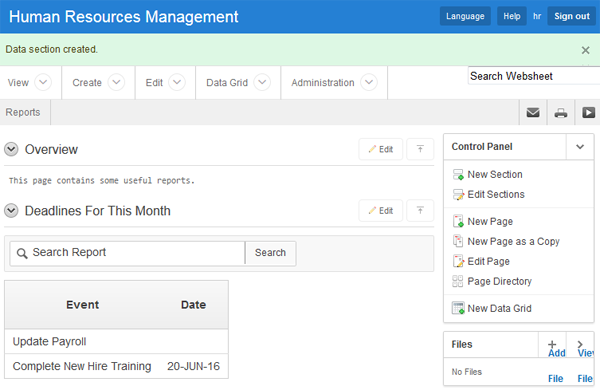
Description of this image
Creating a Chart Section Based on Data From a Data Grid
In this section, you create a chart section based on data from a data grid. Perform the following steps:
-
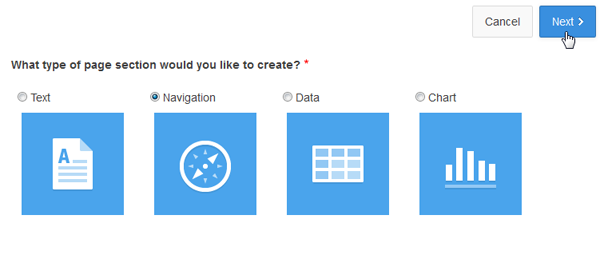
Click Create and select New Section.
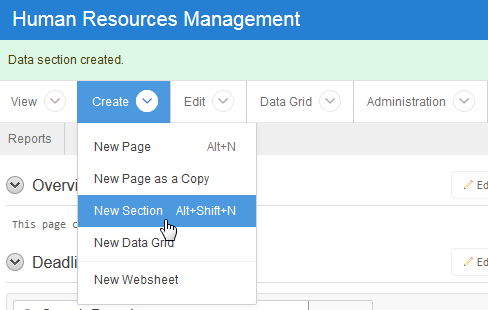
Description of this image -
Select Chart and click Next >.
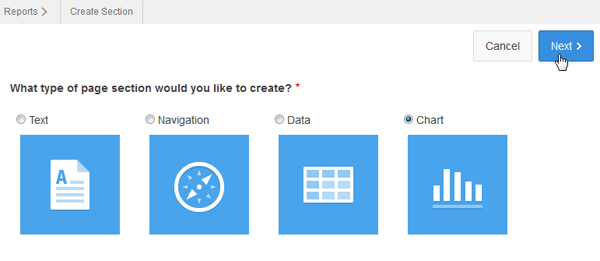
Description of this image -
Accept the default for chart type and click Next >.
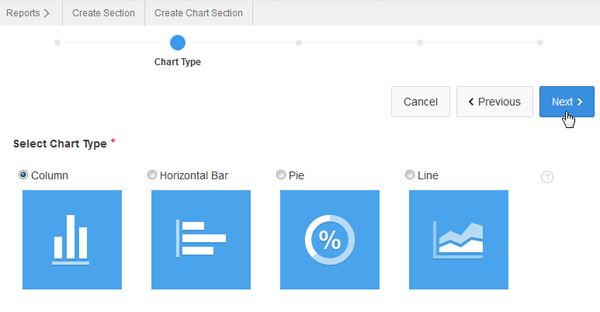
Description of this image -
Select Tasks for Data Grid and Primary Report for Report Settings to Use. Enter Cost Per Project for Section Title and click Next >.
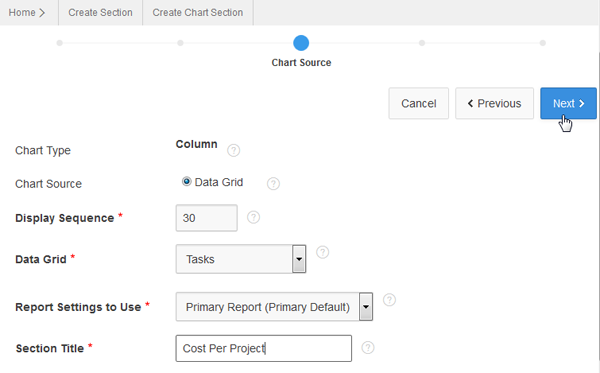
Description of this image -
Select PROJECT for Chart Label and COST for Chart Value. Enter Projects for Axis Title for Label and Cost for Axis Title for Value. Then, click Next >.
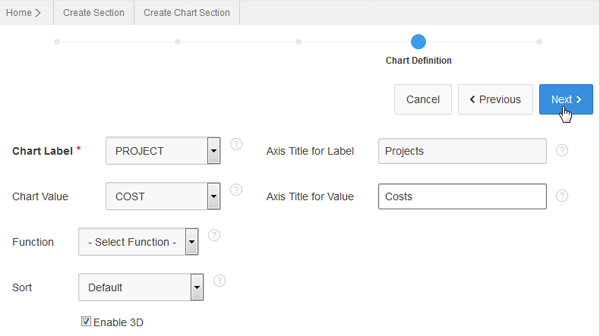
Description of this image -
Click Create Section.
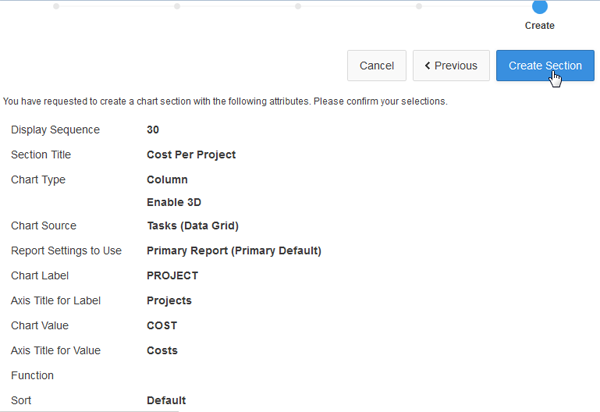
Description of this image -
A chart is created in a new section in the page.
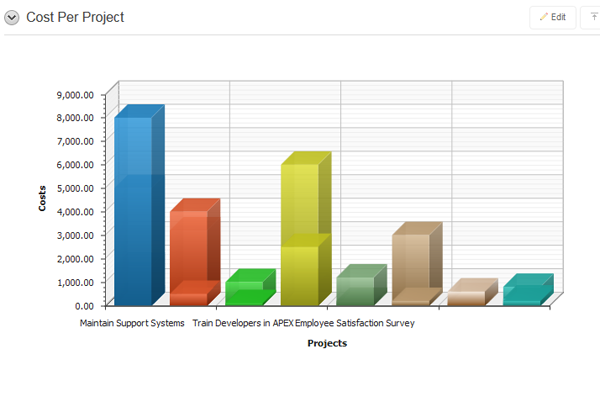
Description of this image
Creating a Section Navigation
In this section, you will create a section navigation for all the sections in the Reports page. Perform the following steps:
-
From the Control Panel, select New Section.
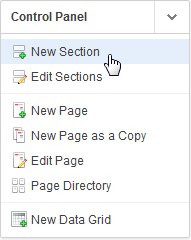
Description of this image -
Select Navigation and click Next >.

Description of this image -
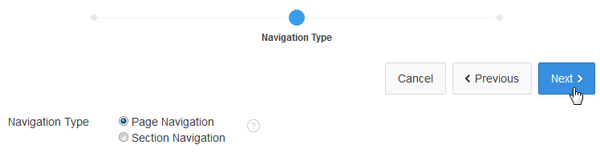
Select Section Navigation and click Next >.
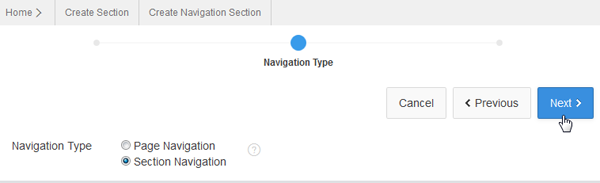
Description of this image -
Enter Sections for Title and click Create Section.
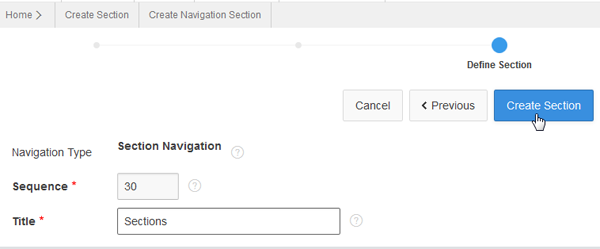
Description of this image -
The navigation section is created, but it is the last section on your page. You want to move the navigation section to the top of the page. Click Edit Sections from the Control Panel.
Description of this image -
Click the up icon for Sections till it is the topmost section in the list and click Apply Changes.

Description of this image -
The navigation section is moved to the top of the page.
Description of this image
Viewing a Page in Presentation Mode
In this section, you will view the Reports page in Presentation mode. Perform the following steps:
-
Click the Presentation Mode icon from the top-right toolbar. Alternatively, you can click View and select Presentation Mode.
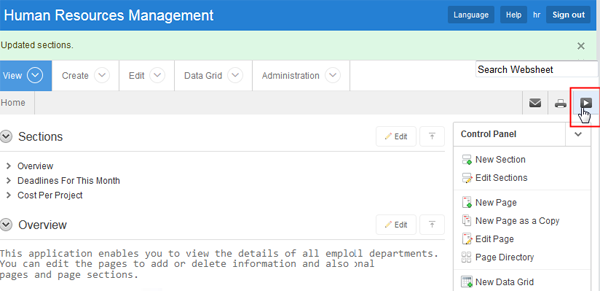
Description of this image -
The first section in the page is displayed. You can move to the next section by clicking the next icon.
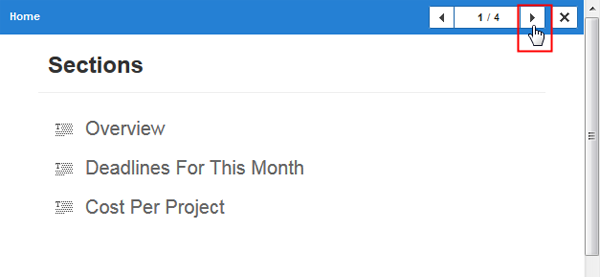
Description of this image -
To close the presentation mode, click the cross (X) icon.
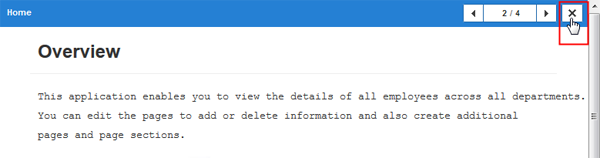
Description of this image
Creating Page Navigation
In this section, you create a page navigation section on the Home page. Perform the following steps:
-
Click New Section from Control Panel.

Description of this image -
Select Navigation and click Next >.
Description of this image -
Ensure that Page Navigation is selected for Navigation Type and click Next >.
Description of this image -
Enter Pages for Title and select Created Date for Order Siblings By. Click Create Section.

Description of this image -
The page navigation section is created.
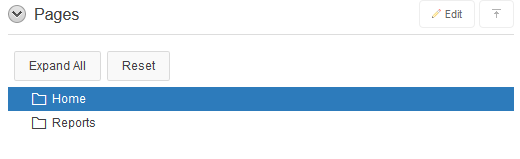
Description of this image
Viewing Page History
In this section, you will view the history for a page. Perform the following steps:
-
Click the View history link at the bottom of the page. Alternatively, you can click View and select Page History.
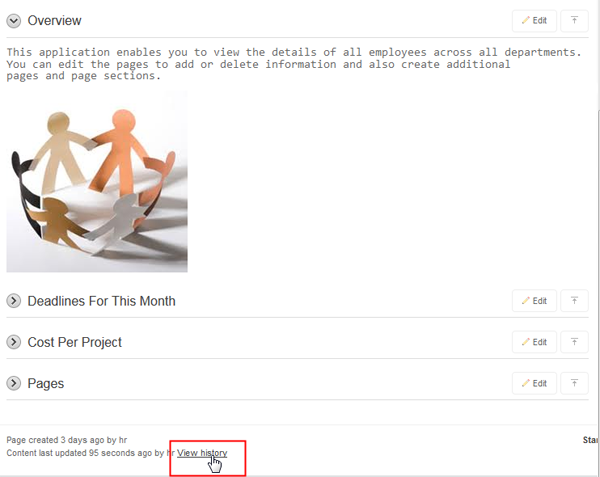
Description of this image -
The history for the page is displayed. Click the Home breadcrumb to return to the Home page.
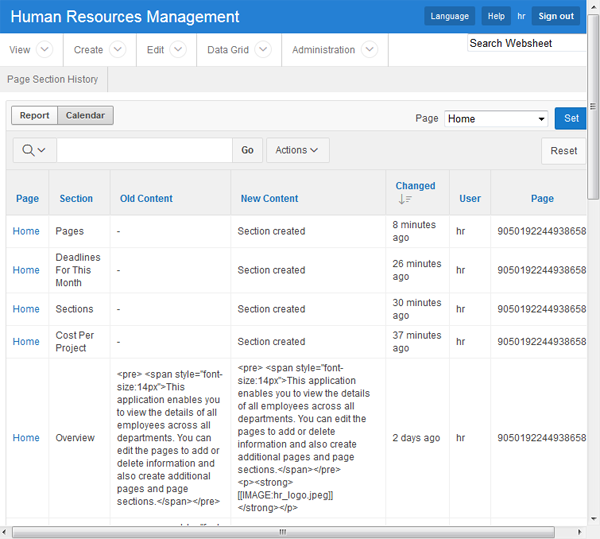
Description of this image
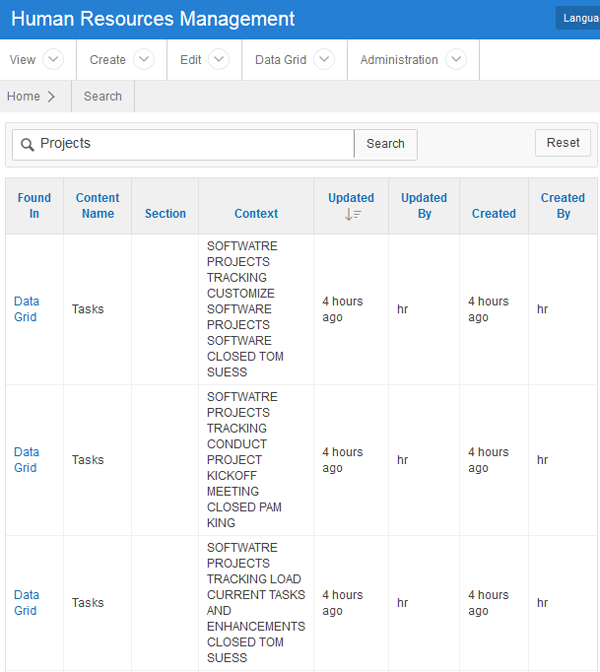
Searching in a Websheet
In this section, you will search the entire websheet for the word "Projects". Perform the following steps:
-
Enter Projects in the top-right search bar and click Enter.

Description of this image -
A report listing all the occurances of the search string is displayed. Click the Home breadcrumb to return to the Home page.
Description of this image
Creating Oracle Application Express Users
In order to share Websheets, it is necessary to define appropriate access control for the other Oracle Application Exprses users. In this topic, you will create three Oracle Application Express users. Perform the following steps:
-
Click the Administration icon and select Manage Users and Groups.
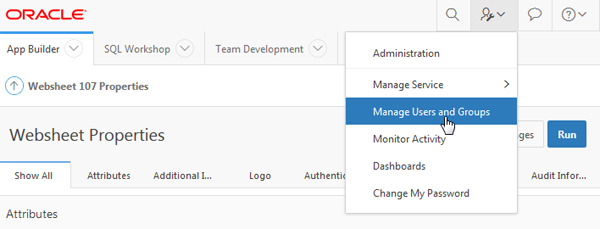
Description of this image -
Click the Create User >.
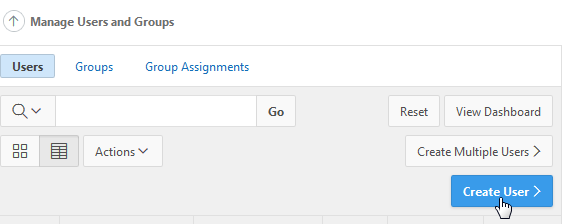
Description of this image -
Enter WS_ADMIN for Username and ws_admin@oracle.com for Email Address. Ensure that User is an administrator is set to Yes and enter oracle for Password (not shown in the screenshot). Then, click Create and Create Another.
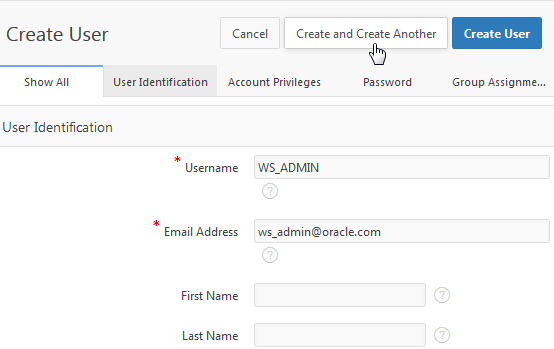
Description of this image -
Enter WS_CONTRIBUTOR for Username and ws_contributor@oracle.com for Email Address. Select No for User is an administrator and enter oracle for Password (not shown in the screenshot). Then, click Create and Create Another.
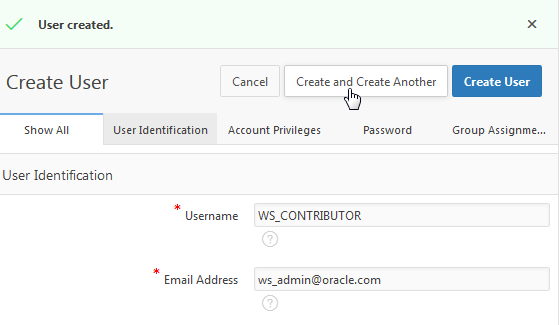
Description of this image -
Enter WS_READER for Username and ws_reader@oracle.com for Email Address. Select No for User is an administrator, No for User is a Developer and enter oracle for Password (not shown in the screenshot). Then, click Create User.
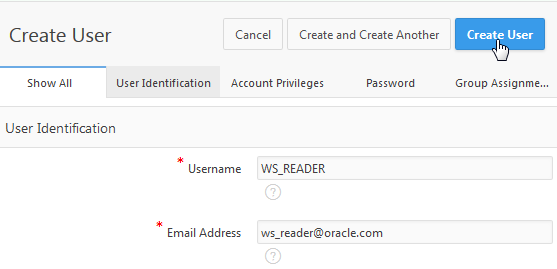
Description of this image
Sharing Websheets Using an Access Control List
In this section, you will create an Access Control List for the websheet. Perform the following steps:
-
Click the Applicaiton Builder tab and select Websheet Applications.
Description of this image -
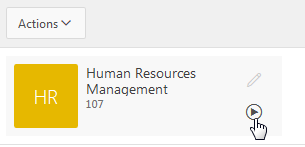
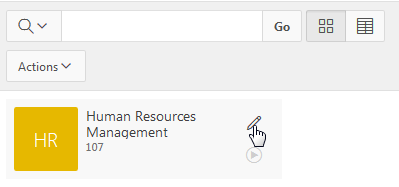
Click the websheet application run icon.
Description of this image -
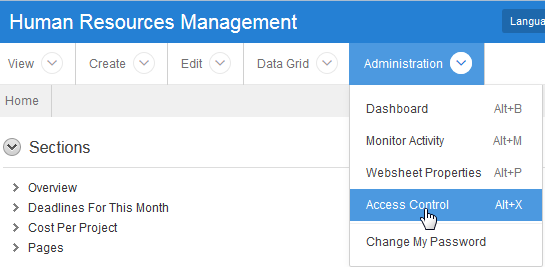
Click Administration and select Access Control.
Description of this image -
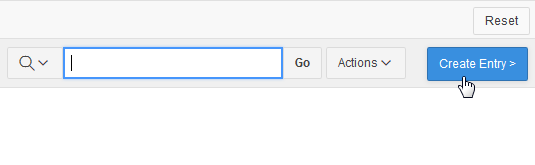
Click Create Entry >.
Description of this image -
Enter ws_reader for Username and click Create and Create Another.
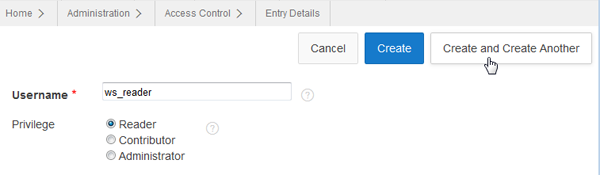
Description of this image -
Enter ws_contributor for Username, select Contributor for Privilege, and click Create and Create Another.
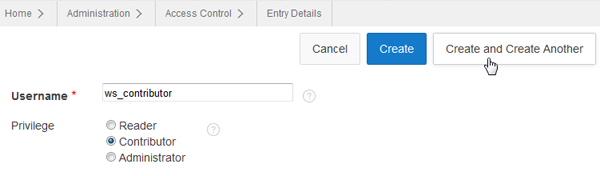
Description of this image -
Enter ws_admin for Username, Administrator for Privilege, and click Create.
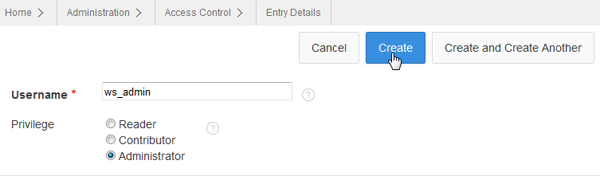
Description of this image -
Now you need to change your Authorization Scheme to use the Access Control List you have just created. Click the websheet application edit icon.
Description of this image -
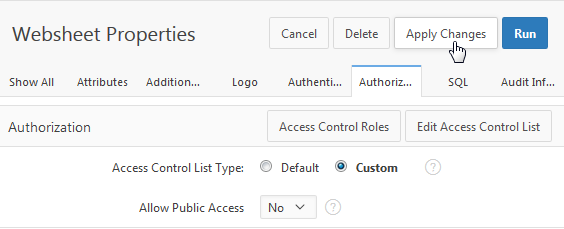
Click the Authorization region and select Custom. Then click Apply Changes.
Description of this image -
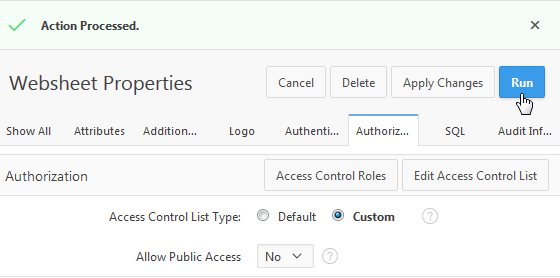
Click Run.
Description of this image -
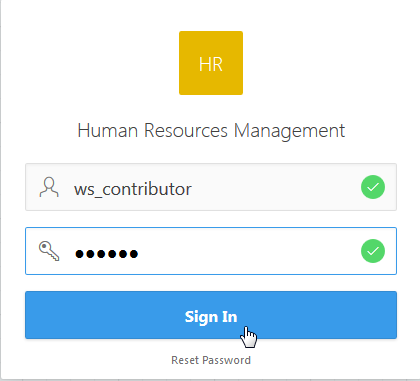
Login as the ws_contributor user.
Description of this image -
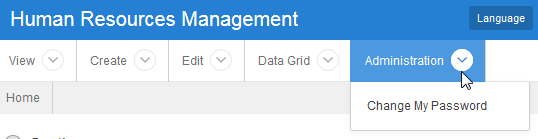
Click Administration and note that only the option to change the password is available.
Description of this image -
Login again as the ws_reader user.
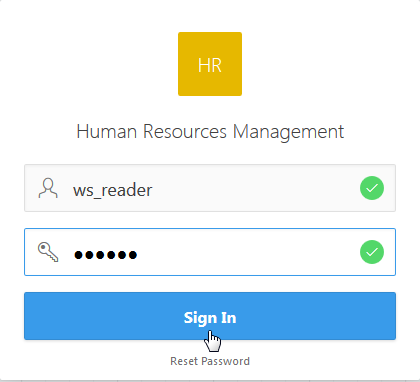
Description of this image -
Note that the options to create and edit content are disabled.

Description of this image